


Destiny 2: Salvation’s Edge first encounter raid guide, Substratum
The final confrontation against The Witness is live with Destiny 2: The Final Shape's Salvation's Edge Raid. Players are tasked with infiltrating The Witness' monolith and exercising it from within The Traveler. However, even off the 48-hour contest mode, Salvation's Edge is no joke. Each of the five encounters will test a Fireteam's coordination and puzzle-solving ability before finally bringing Guardians face to face against The Witness. While other Raids might have one or two chunky bosses to prepare for, Salvation's Edge is more of an endurance test. And that's made abundantly clear even as players head in to tackle the Raid's first encounter. Loadouts and gear for Salvation's Edge Screenshot by Destructoid Predominantly, you'll face off against a mix of Vex and Dread enemies, including Minotaurs, Supplicants, Hyrdras, Subjugators, Tormentors, Weavers, Attendants, and some Vex rabble. As there are no bosses throughout this encounter, players don't need to worry about bringing a heavy DPS weapon. That said, there will be quite a few Tormentors and minibosses, so something like a good machine gun goes a long way. The biggest build concern heading into Substratum is staying alive. Players will find themselves alone and surrounded by enemies at points throughout the first encounter, so it's wise to prepare for that eventuality. Of course, the best defense is a good offense, so group-clearing weapons, like the Sunshot Exotic or a Forbearance with the Chain Reaction Perk, help. It also doesn't hurt to build into some healing effects, like a Solar healing grenade and the Recuperation or Better Already armor mods. Salvation's Edge encounter map (Substratum) Image via Destructoid The first encounter in Salvation's Edge is one big puzzle, and the mechanics here are the focus of the following two encounters as well. Players will find themselves in a labyrinth, made up of one large center chamber and eight connected smaller rooms. Think about the area like a compass' cardinal directions. From the center room, there's a north, west, east, south, northwest, northeast, southwest, and southeast room. Not only is each room connected to the center, but they also connect to one another, allowing players to travel in a circle around the center chamber. Each of the eight rooms has a square plate within, and each of those plates has wires that run to the plates in adjacent rooms. The plate rooms also house a tall grey conductor pillar; each closed before starting, but some open as the encounter continues. Substratum, Phase 1 Screenshot by Destructoid To start Substratum, the Fireteam must group in the center chamber. The doors to the plate rooms seal, with an orange pick-up and a chest appearing a few seconds after. The player collecting the pick-up receives the Pyramidal Resonance buff, which can be dunked in the chest to kick things off. Once dunked, a 4 minutes and 15 second timer begins. One of The Witness' hands appears in the center chamber and starts dropping AoEs around the room. Simultaneously, two of the eight doors open. Split the Fireteam into two groups of three. Each group should head into an open door, watching for exploding Vex Supplicants as they enter. Eliminate the Minotaurs and one or two Hydras, opening the passage to the other team's next room. In one of the team's third rooms, an Overload Minotaur appears. Once defeated, a Tormenter emerges in the middle chamber; both teams should reconvene to defeat it quickly. Defeating a Tormenter makes the plate in the room with the Overload Minotaur light up, but players must complete one more cycle of room running so that each team has a lit plate available. Once teams have cleared another three rooms, defeated a second Overload Minotaur, and a second Tormenter, the two teams of three can return to the room with their lit plate. Substratum, Phase 2 Screenshot by Destructoid One player on each team should check the adjacent rooms to discover which conductor is open and stay by that plate. Another player should be by the lit plate, and the third player should get ready to float between their teammates and the center chamber. When the Guardian at the lit plate steps on it, a burst of orange energy travels through the connected wires to the plate with the open conductor. A shrinking orange circle appears a few seconds after the energy reaches the destination plate. The player hanging out at this plate (by the active conductor) wants to step on the plate while this circle is visible — too early or too late results in the plates losing power. If done correctly, the orange energy should bounce back toward the starter plate, and plate players must keep bouncing the energy back and forth to generate more Pyramidal Resonance. After the first bounce, one will appear at each active plate and another in the middle chamber. In between bounces, plate players should grab the Pyramidal Resonance that appeared in their room, as each pl
The final confrontation against The Witness is live with Destiny 2: The Final Shape's Salvation's Edge Raid. Players are tasked with infiltrating The Witness' monolith and exercising it from within The Traveler. However, even off the 48-hour contest mode, Salvation's Edge is no joke.
Each of the five encounters will test a Fireteam's coordination and puzzle-solving ability before finally bringing Guardians face to face against The Witness. While other Raids might have one or two chunky bosses to prepare for, Salvation's Edge is more of an endurance test. And that's made abundantly clear even as players head in to tackle the Raid's first encounter.
Loadouts and gear for Salvation's Edge
Predominantly, you'll face off against a mix of Vex and Dread enemies, including Minotaurs, Supplicants, Hyrdras, Subjugators, Tormentors, Weavers, Attendants, and some Vex rabble. As there are no bosses throughout this encounter, players don't need to worry about bringing a heavy DPS weapon. That said, there will be quite a few Tormentors and minibosses, so something like a good machine gun goes a long way.
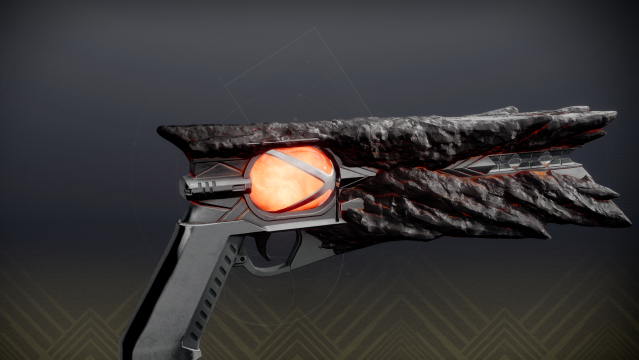
The biggest build concern heading into Substratum is staying alive. Players will find themselves alone and surrounded by enemies at points throughout the first encounter, so it's wise to prepare for that eventuality. Of course, the best defense is a good offense, so group-clearing weapons, like the Sunshot Exotic or a Forbearance with the Chain Reaction Perk, help. It also doesn't hurt to build into some healing effects, like a Solar healing grenade and the Recuperation or Better Already armor mods.
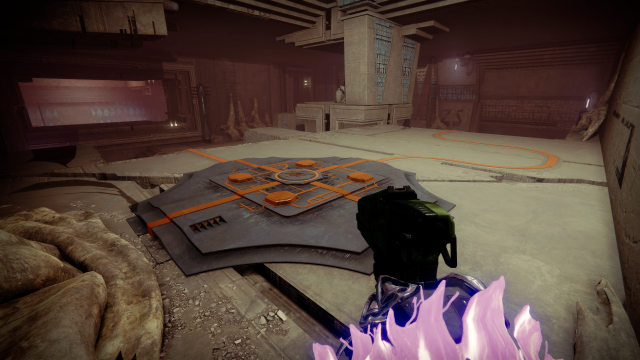
Salvation's Edge encounter map (Substratum)
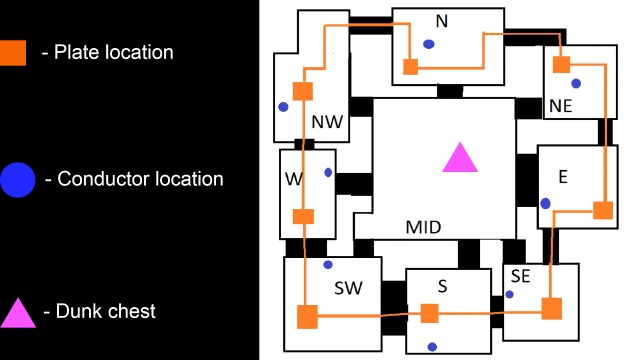
The first encounter in Salvation's Edge is one big puzzle, and the mechanics here are the focus of the following two encounters as well. Players will find themselves in a labyrinth, made up of one large center chamber and eight connected smaller rooms. Think about the area like a compass' cardinal directions. From the center room, there's a north, west, east, south, northwest, northeast, southwest, and southeast room.
Not only is each room connected to the center, but they also connect to one another, allowing players to travel in a circle around the center chamber. Each of the eight rooms has a square plate within, and each of those plates has wires that run to the plates in adjacent rooms. The plate rooms also house a tall grey conductor pillar; each closed before starting, but some open as the encounter continues.
Substratum, Phase 1
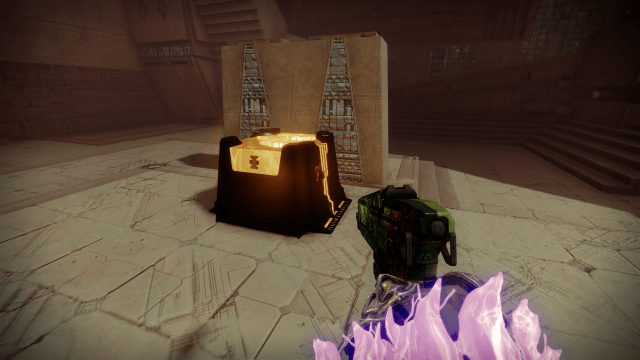
To start Substratum, the Fireteam must group in the center chamber. The doors to the plate rooms seal, with an orange pick-up and a chest appearing a few seconds after. The player collecting the pick-up receives the Pyramidal Resonance buff, which can be dunked in the chest to kick things off.
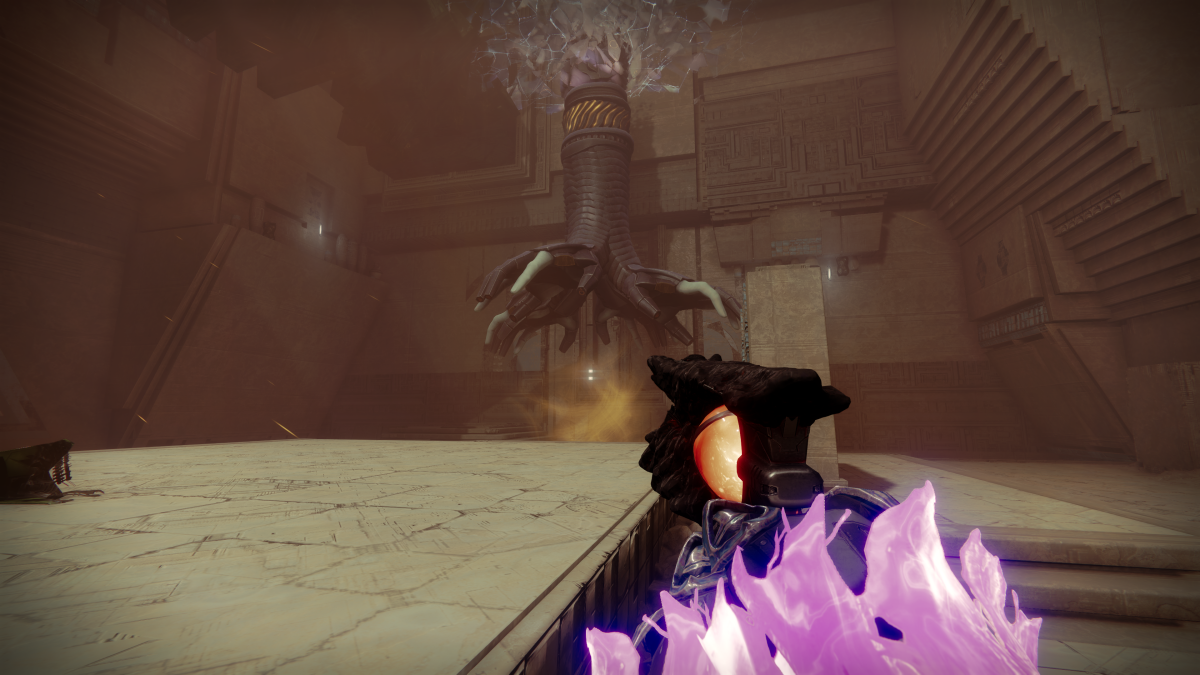
Once dunked, a 4 minutes and 15 second timer begins. One of The Witness' hands appears in the center chamber and starts dropping AoEs around the room. Simultaneously, two of the eight doors open.
Split the Fireteam into two groups of three. Each group should head into an open door, watching for exploding Vex Supplicants as they enter. Eliminate the Minotaurs and one or two Hydras, opening the passage to the other team's next room. In one of the team's third rooms, an Overload Minotaur appears. Once defeated, a Tormenter emerges in the middle chamber; both teams should reconvene to defeat it quickly.
Defeating a Tormenter makes the plate in the room with the Overload Minotaur light up, but players must complete one more cycle of room running so that each team has a lit plate available. Once teams have cleared another three rooms, defeated a second Overload Minotaur, and a second Tormenter, the two teams of three can return to the room with their lit plate.
Substratum, Phase 2
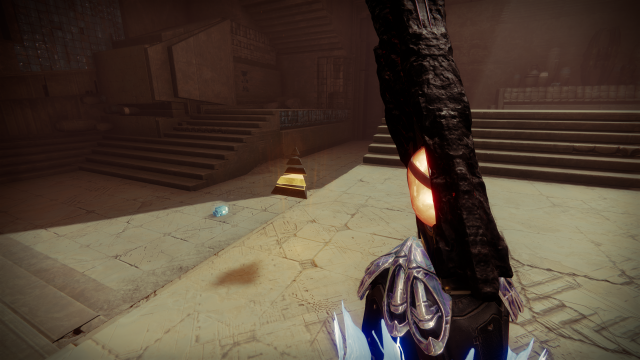
One player on each team should check the adjacent rooms to discover which conductor is open and stay by that plate. Another player should be by the lit plate, and the third player should get ready to float between their teammates and the center chamber.
When the Guardian at the lit plate steps on it, a burst of orange energy travels through the connected wires to the plate with the open conductor. A shrinking orange circle appears a few seconds after the energy reaches the destination plate.
The player hanging out at this plate (by the active conductor) wants to step on the plate while this circle is visible — too early or too late results in the plates losing power.
If done correctly, the orange energy should bounce back toward the starter plate, and plate players must keep bouncing the energy back and forth to generate more Pyramidal Resonance. After the first bounce, one will appear at each active plate and another in the middle chamber. In between bounces, plate players should grab the Pyramidal Resonance that appeared in their room, as each player ideally wants to get three stacks of the buff. Any more, and it will instantly kill players.
Non-plate players should try to slay as many enemies as possible, with particular attention to Weavers, who can Strand pull players away from their plates. Between spawns, the non-plate Guardians should head to the middle chamber to collect their three Pyramidal Resonances that appear there.
After players are comfortable with their buff stacks or running low on encounter time, the final step is to lock the conductors. To do this, the Guardian at the active conductor plate must shoot the glowing Crux in the conductor while the energy is on its way toward them and then step on the plate's circle one last time. The conductor plate player should lose a stack of Pyramidal Resonance, and the whole conductor will start glowing brightly. If plate players miss a bounce at any point, a Subjugator miniboss will spawn in the starter plate room, and the plates for that team will remain locked until it is defeated.
If both teams successfully lock their conductors, the group must rush back to the middle chamber and eliminate another Subjugator miniboss. After that, the chest from the start of the encounter will reappear, and the group can dunk all of the Pyramidal Resonance they have to extend the encounter timer. From there, everything starts over. After locking three sets of conductors, the Fireteam will complete the encounter.
The post Destiny 2: Salvation’s Edge first encounter raid guide, Substratum appeared first on Destructoid.