

You Don't Need a Fast Lens to Blur the Background
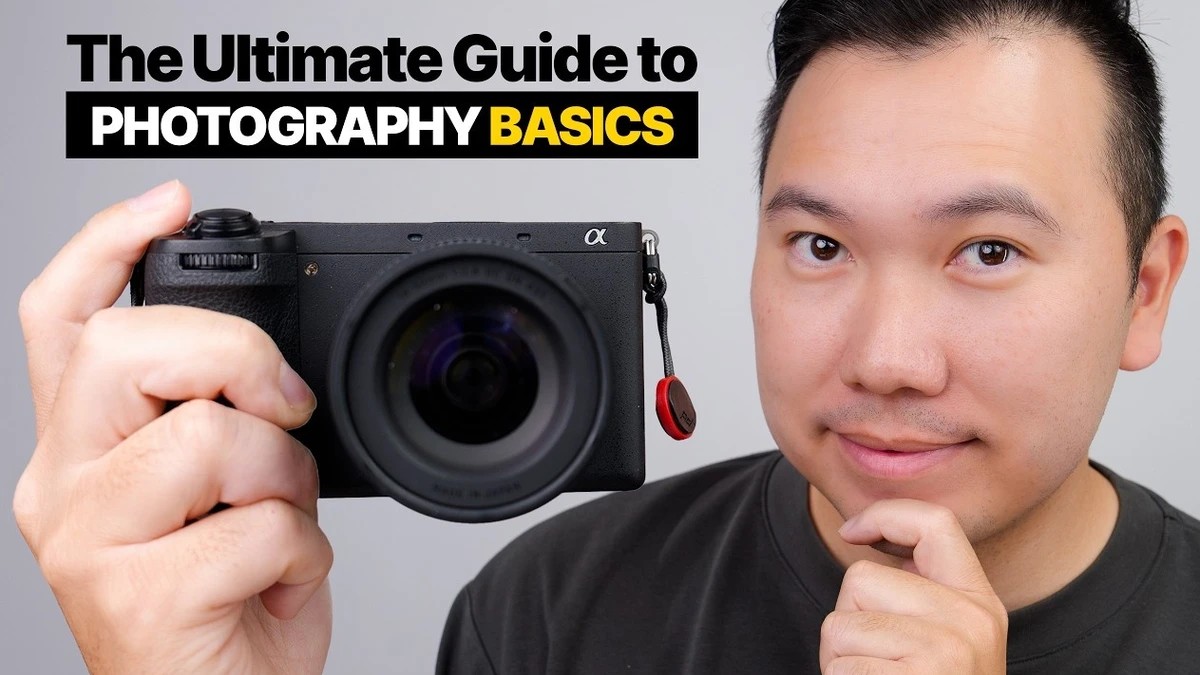
Aperture, shutter speed, and ISO are the first three settings anyone learns, and each comes with rules repeated so often they start to sound like law. Knowing which of those rules hold up, and when breaking them gets you a better frame, decides whether the camera works with you or against you.
Jason Vong starts by taking apart the idea that blurry backgrounds require an f/1.8 or f/1.2 lens. He uses an 18mm kit lens at f/3.5 on an APS-C body. Two frames shot at identical settings look completely different because he walked closer to the subject for the second one. He then zooms to 50mm and steps back to keep a full body framing. The kit lens narrows to f/5.6, and the background still softens. That explains why long telephoto lenses at f/6.3 or f/8 can still produce smooth backgrounds. The space behind your subject also counts. A flat wall stays dull at any f-stop, while plenty of open depth changes the whole look. Most of the demonstrations use gear you might already own, including an APS-C Sony a6700 and a modest home setup.
Shooting wide open comes with its own problems, and Vong traces soft results to two causes. Budget and vintage primes are often soft at their widest aperture, especially away from the center. Stopping down somewhere between f/2.8 and f/4 usually cleans that up, though every lens behaves differently. The second cause is depth of field. At f/1.8, the plane of focus is so thin that rocking slightly forward or back can move your subject out of focus, even when the camera signals a lock. His fix is simple: start at 1/125 s or faster, switch to burst mode, hold steady, and fire several frames. He also argues against shooting wide open every time. An 85mm portrait at f/1.8 against a city skyline loses its sense of place. At f/5.6 or f/8, the location reads clearly. For a train passing cherry blossoms, he stops a 24-70mm f/2.8 down to f/4 and prefocuses on the tracks rather than trusting autofocus to catch something unpredictable.
The handheld shutter speed rule Vong builds on, one over your focal length, dates back to 35mm film. It was a rough guide for prints viewed at ordinary sizes. Modern sensors pack far more pixels into the same area, so a tiny bit of shake that never showed on a 4x6 print becomes visible when you zoom to 100% on a high-resolution file. Many shooters with high-megapixel bodies treat the old rule as a floor and go faster when sharpness matters. In-body and lens stabilization push in the opposite direction, letting you hold slower speeds on static subjects. The rule works best as a starting number to test against your own hands, your own camera, and how large you plan to view the result. A few test frames at different speeds will show you where your personal limit sits.
The shutter speed section moves from definitions to practical baselines. Vong suggests 1/125 s for still portraits, 1/250 s for moving people, 1/500 s for kids and animals, and 1/1,000 s or faster for sports and wildlife. A cat walking across the room shows how far those numbers can be pushed. The recommended speed produces a mix of keepers and blurry frames, while going a bit faster gives clean results every time. He also takes on whether a shutter speed can be too fast. A static building at 1/8,000 s is fine if your ISO stays low and the file looks clean. If the fast shutter forces the ISO up into extreme territory, the shutter should come down. For unpredictable light such as concerts, he relies on auto ISO with a ceiling around 6,400. In the low light section, the order you change settings depends on whether the camera is in your hands or on a tripod. Handheld, aperture goes first, then shutter speed, then ISO. On a tripod, ISO goes first at 100, then aperture, and shutter speed does the rest.
Vong's tripod shot of Shinjuku at night on a Sony RX100 VII is in the video above.
What's Your Reaction?
 Like
0
 Dislike
0
 Love
0
 Funny
0
 Wow
0
 Sad
0
 Angry
0










Comments (0)