

Bottom of the Well dungeon walkthrough in Ocarina of Time
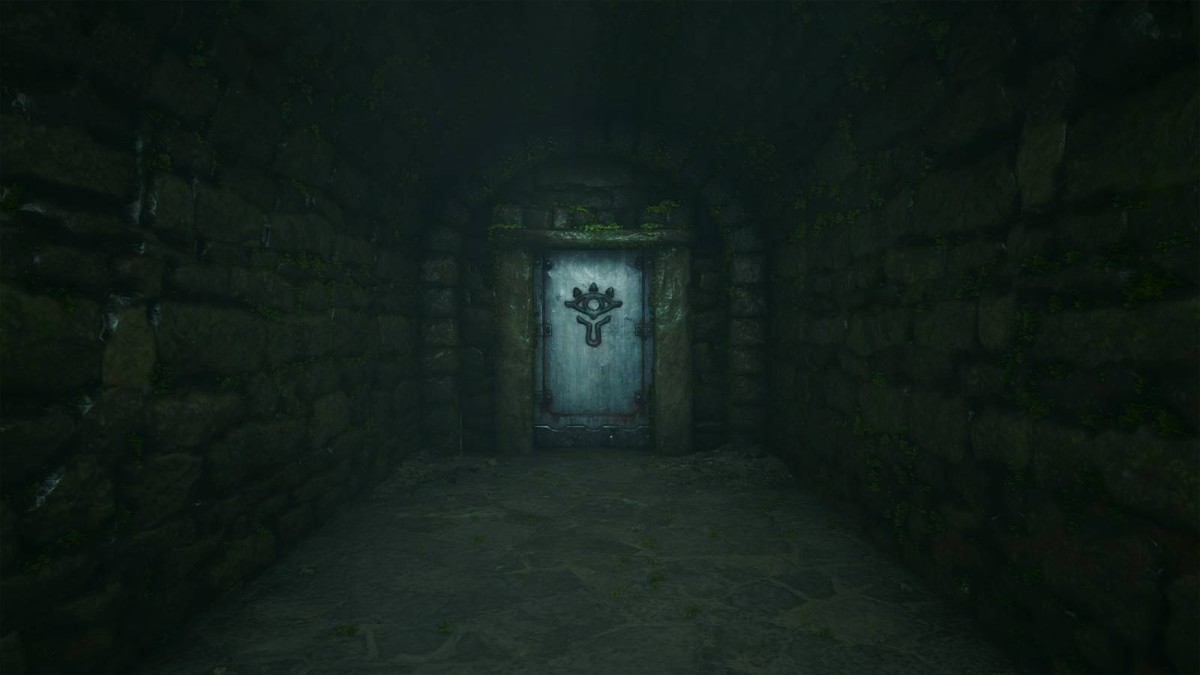
The Bottom of the Well is a mini dungeon in The Legend of Zelda: Ocarina of Time remake. It's found in Kakariko Village, and it's home to the Lenses of Truth, a key item that will show what's real and what's an illusion.
However, getting to the Bottom of the Well is a bit tricky, as you'll need to manipulate time a bit to find its entrance. It can also get a little creepy inside, as there are ReDead, Gibdo, and even a Dead Hand, living in the well.
Here's how to complete the Bottom of the Well in Ocarina of Time remake.
Part 1: Draining the well
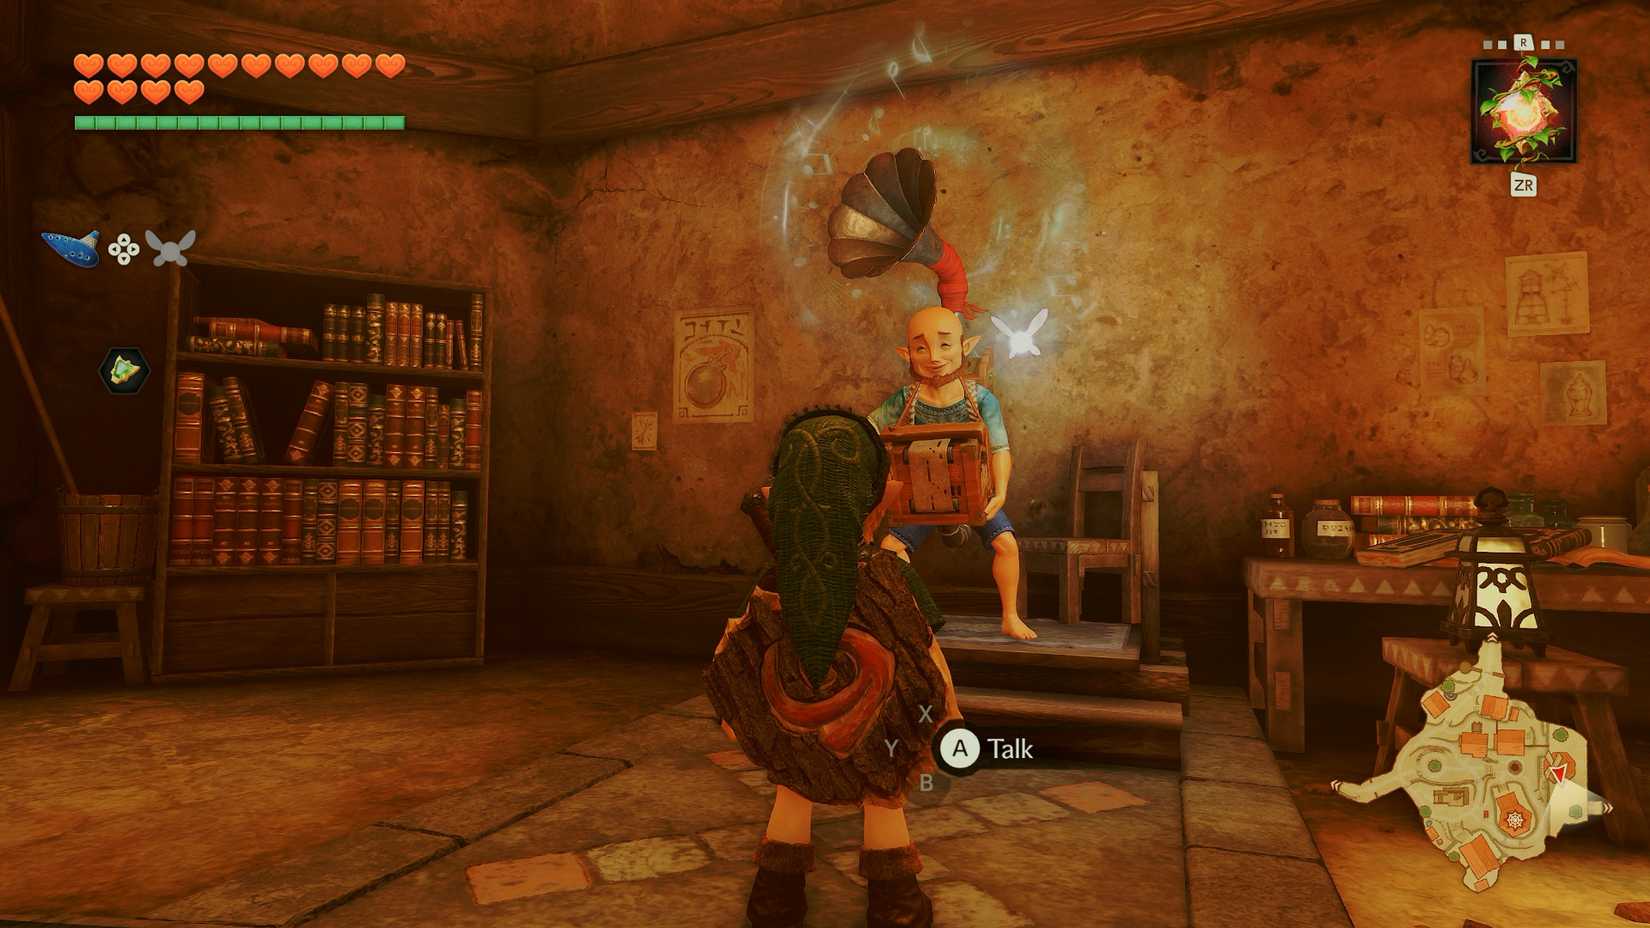 Image: Nintendo EPD/Nintendo via Polygon
To get into the Bottom of the Well dungeon, you need to drain it first. Make sure you've learned the Song of Storms from Music Man inside the windmill in Kakariko Village. You need to travel into the future and interact with him to learn it. Then, return to the past, and head inside the windmill in Kakariko Village. Play the Song of Storms (L - R - X - L - R - X) for Music Man, and the well water will drain.
Only young Link can enter the Bottom of the Well, so hop into the well and climb through the tunnel.
Part 2: Getting the Lenses of Truth
 Graphic: Johnny Yu/Polygon | Source images: Nintendo EPD/Nintendo via Polygon
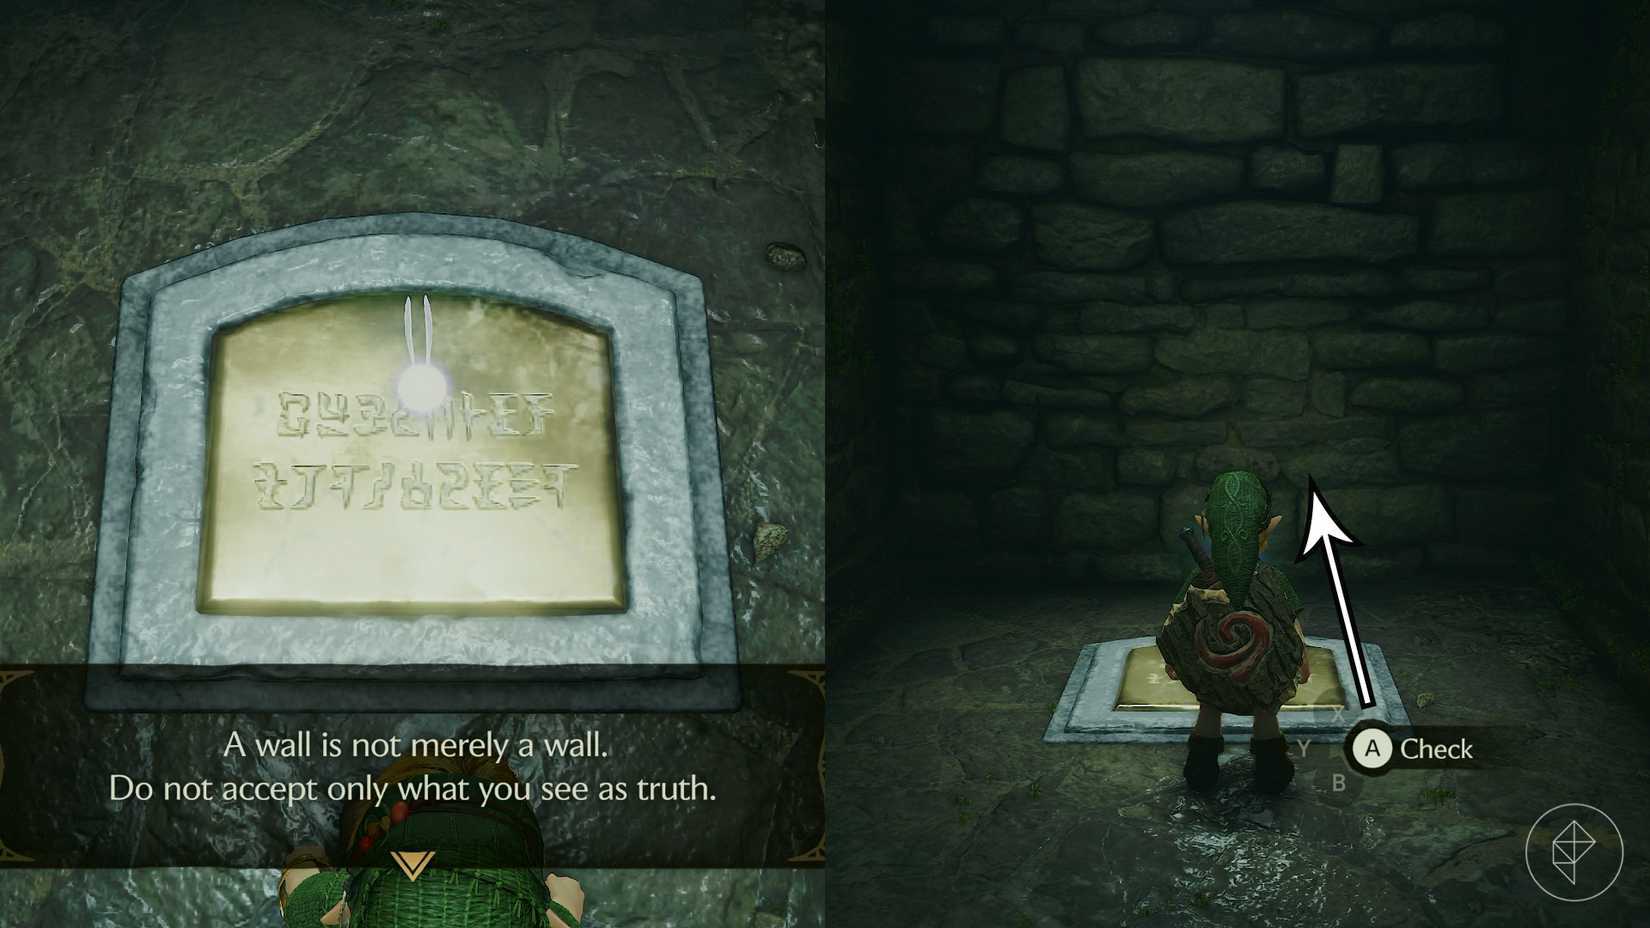
Open the door and head down the ladder. Defeat the Skulltula ahead, and read the plaque on the floor, which states: "A wall is not merely a wall. Do not accept only what you see as truth." So, just walk through the wall ahead of you.
 Graphic: Johnny Yu/Polygon | Source images: Nintendo EPD/Nintendo via Polygon
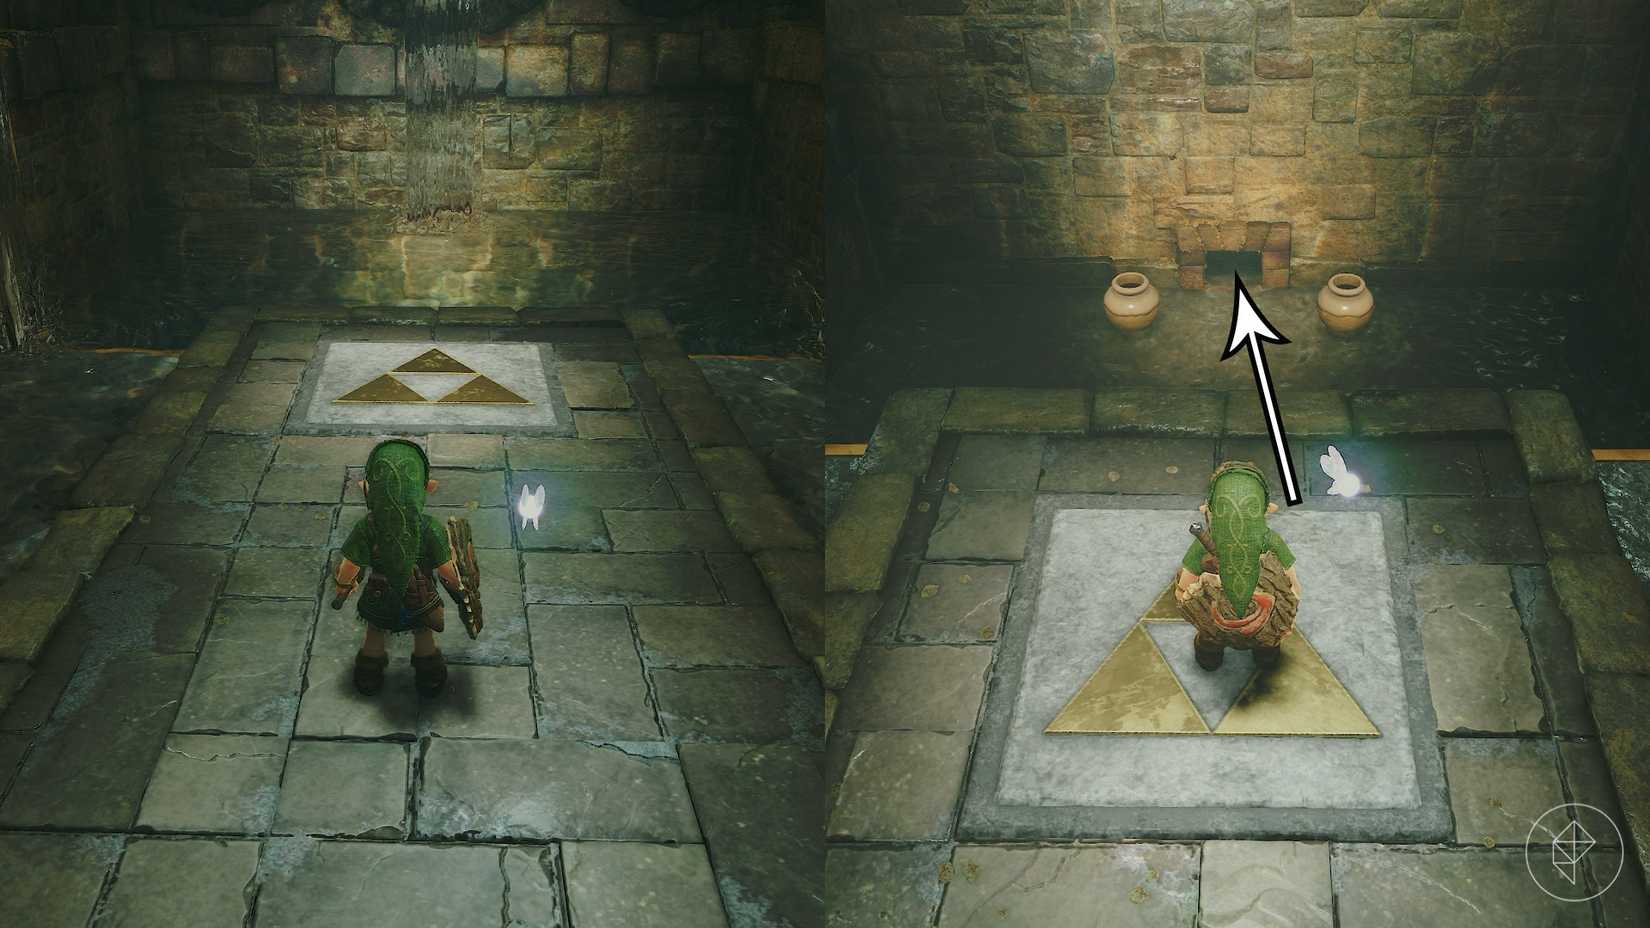
Follow the water to the northern side of this area. Stick close to the water, and avoid wandering off, as there are invisible holes in the floor that will send you straight to the basement. You'll eventually find a Triforce on the ground in front of a frog statue protruding out of the wall. Play Zelda's Lullaby (Y - X - A - Y - X - A), and the water level will lower. Walk straight off the ledge and crawl through the hole in the wall.
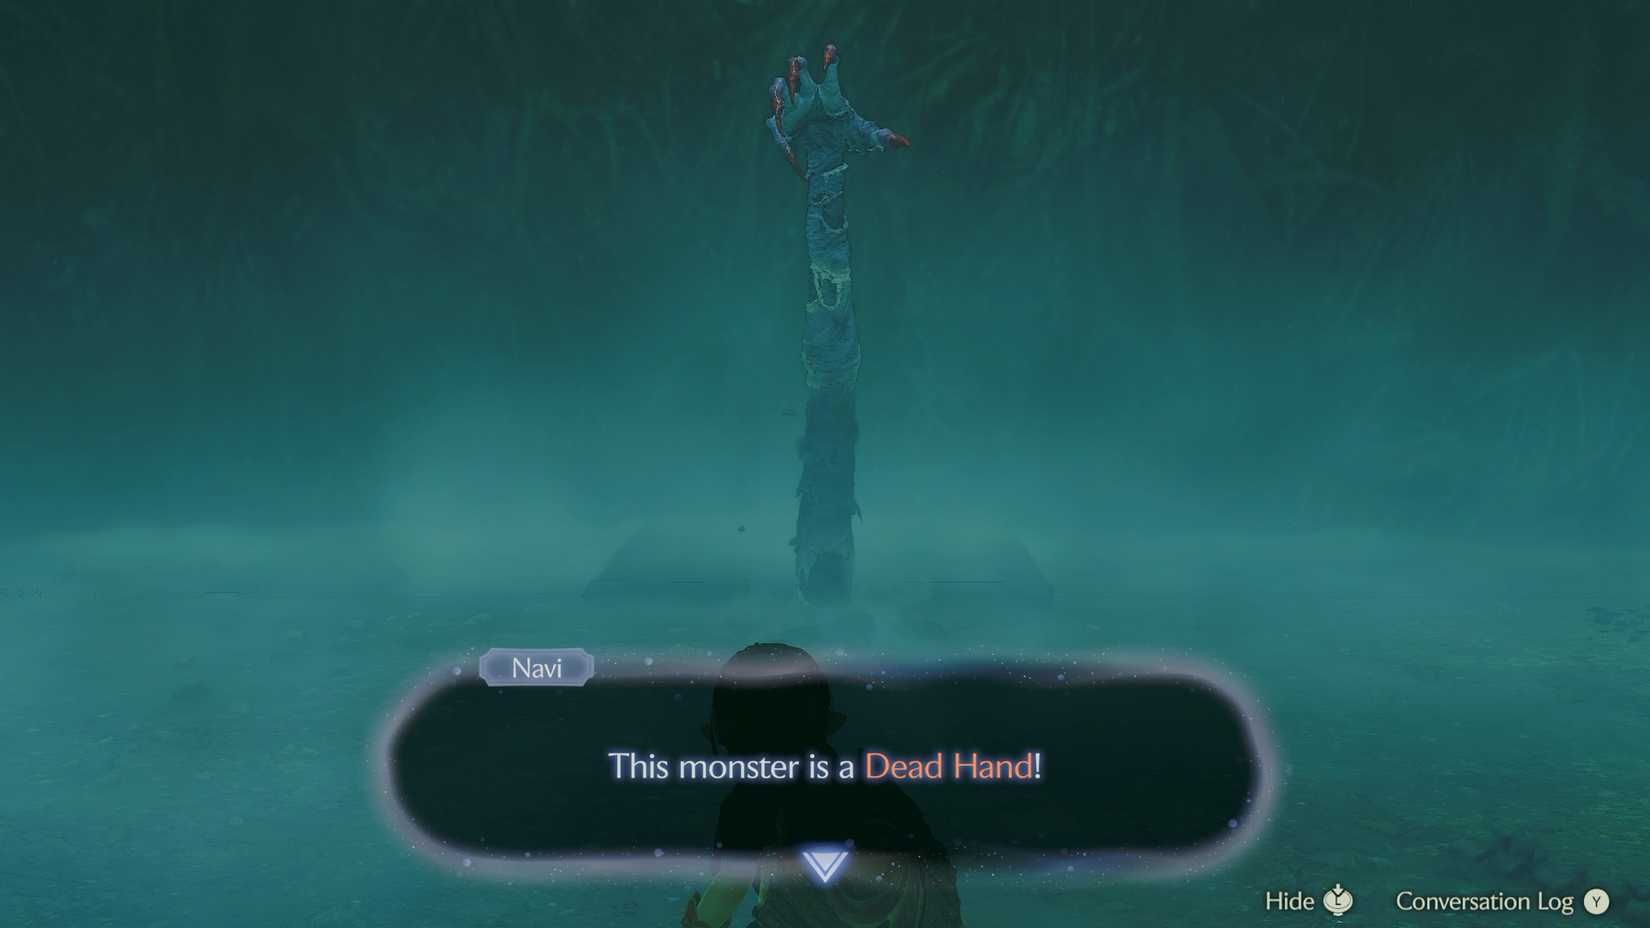 Image: Nintendo EPD/Nintendo via Polygon
Follow the path, but be careful of the Skulltula that'll drop from the ceiling. Defeat it and go through the door ahead. There will be a chest in front of you, but there's actually an invisible hole in the floor. Drop into it anyway, and you'll end up in a foggy room. Walk closer to the mound of dirt, and a Dead Hand will pop out of the ground. To beat it, get close to it so that it lunges, but quickly back away before it grabs you. Then, unleash a flurry of attacks. If it does grab you, spam all your buttons until it lets you go.
 Graphic: Johnny Yu/Polygon | Source images: Nintendo EPD/Nintendo via Polygon
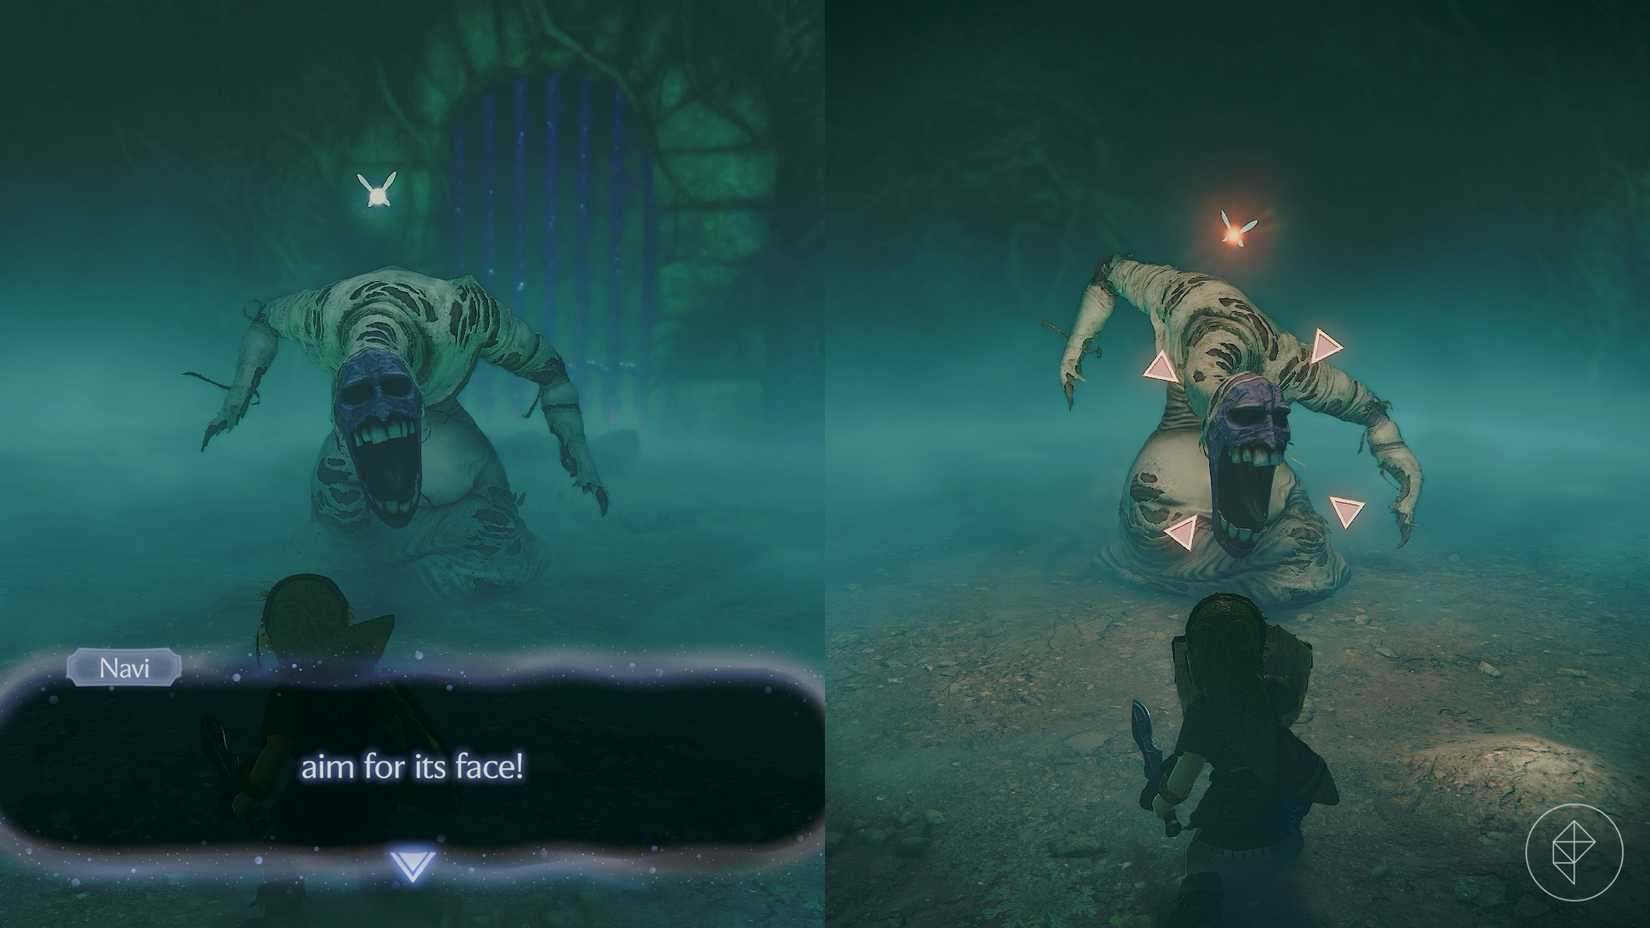
After you defeat it, a whole body will pop out of the ground! As it turns out, this is actually the Dead Hand. The limb was just its arm. Hold up your shield, and let it approach you. Wait for it to lower its head and attack its face. After you deal enough damage, its body will go back underground. Then, the limbs will pop out again. Hit them until they disappear, and the main body will come back out of the ground. Repeat the whole process, attacking Dead Hand's face and destroying the limbs, until you defeat Dead Hand. Open the chest that spawns to get the Lenses of Truth.
If you're trying to finish the game as fast as possible, you can technically leave and go straight to the Shadow Temple now that you have the Lenses of Truth. There isn't a boss waiting for you at the end of this dungeon, nor is there another key item for you to find. However, if you'd like to finish the Bottom of the Well, continue on to the section below.
Part 3: Finding the dungeon map
 Graphic: Johnny Yu/Polygon | Source images: Nintendo EPD/Nintendo via Polygon
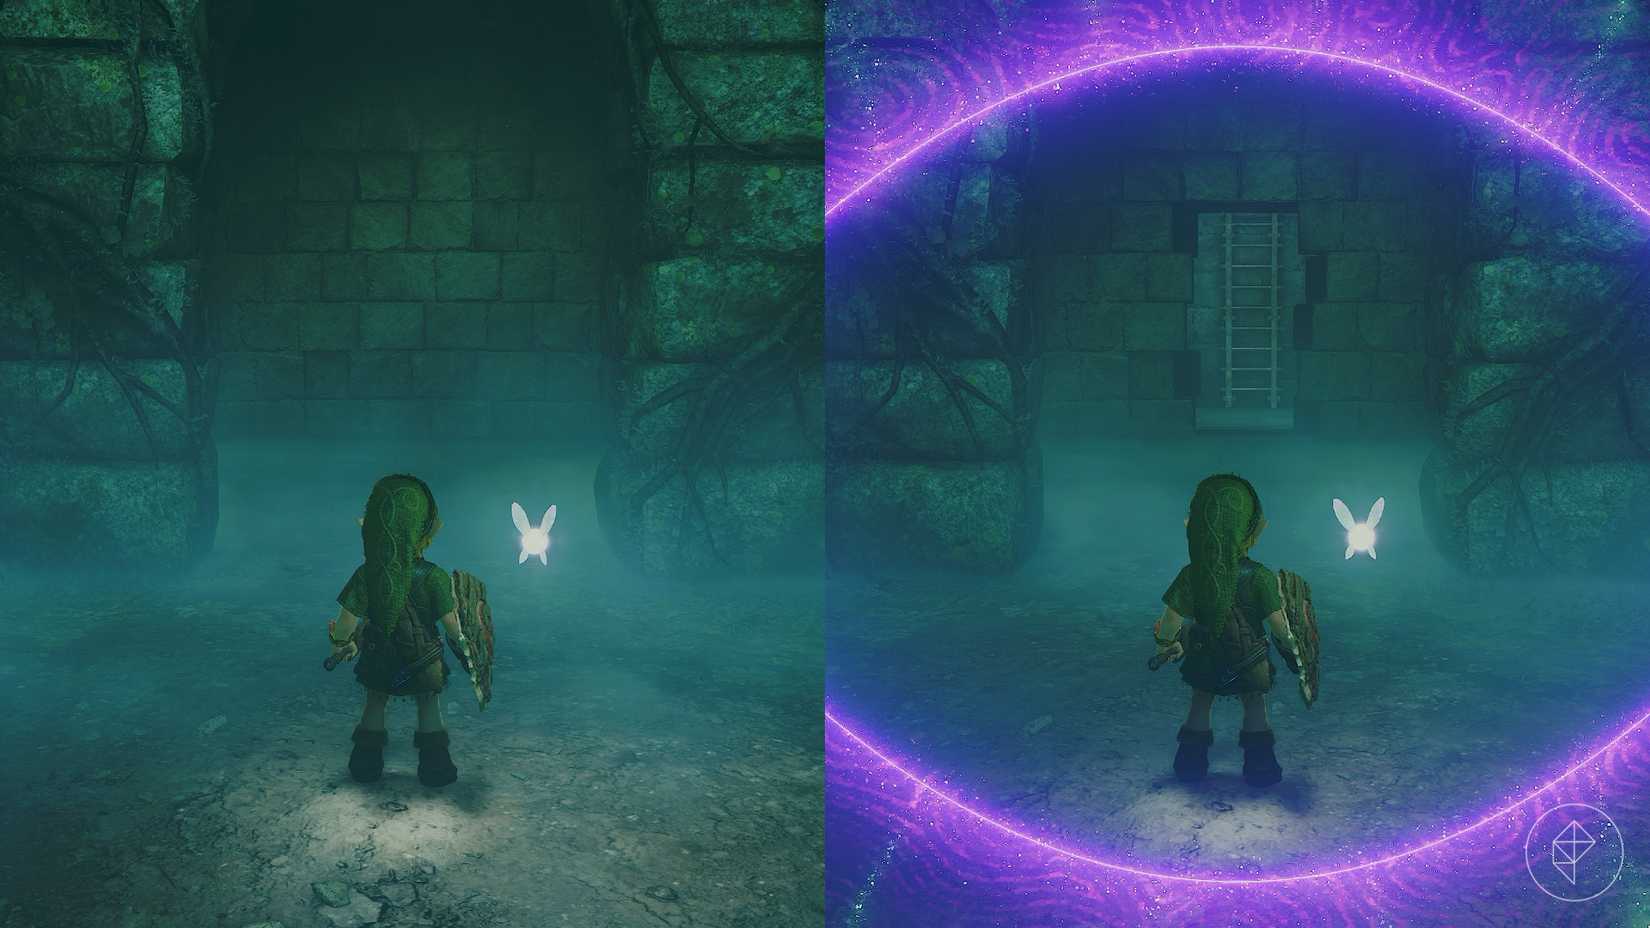
Equip the Lenses of Truth in the Equipment menu. Now, you can press Up on the D-Pad to equip the Lenses of Truth or take it off. The Lenses of Truth will show you what is real and what isn't, but it'll also consume magic power while it's active. If you look to the south, you'll see that there's actually a hole in the wall that leads to a ladder.
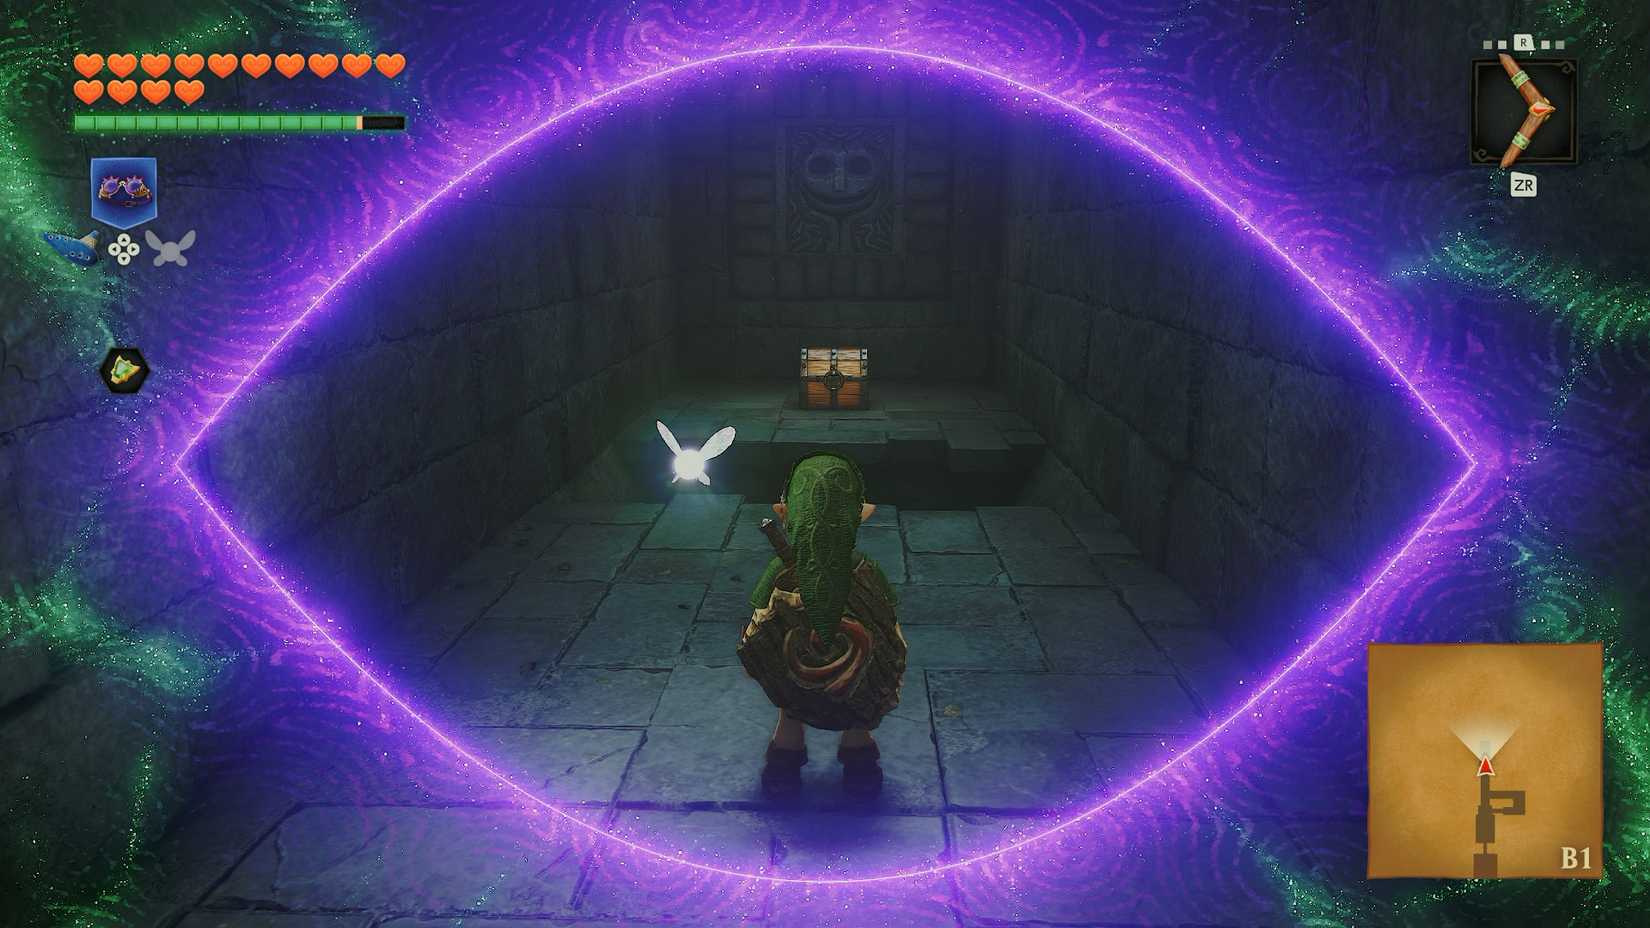 Image: Nintendo EPD/Nintendo via Polygon
Go up the ladder, and feel free to break the pots behind the fake walls. Go up the next ladder, and go through the wall at the top of the stairs. Open the invisible chest on your right to get a purple rupee. Then, drop to the area below, but don't crawl through the hole just yet. If you want a Business Scrub Seed, turn around and go through the door that took you to Dead Hand. Put on the Lenses of Truth, and jump over the hole in the ground to the chest. If not, feel free to crawl through the hole, which will take you back to the Triforce on the floor.
 Graphic: Johnny Yu/Polygon | Source images: Nintendo EPD/Nintendo via Polygon
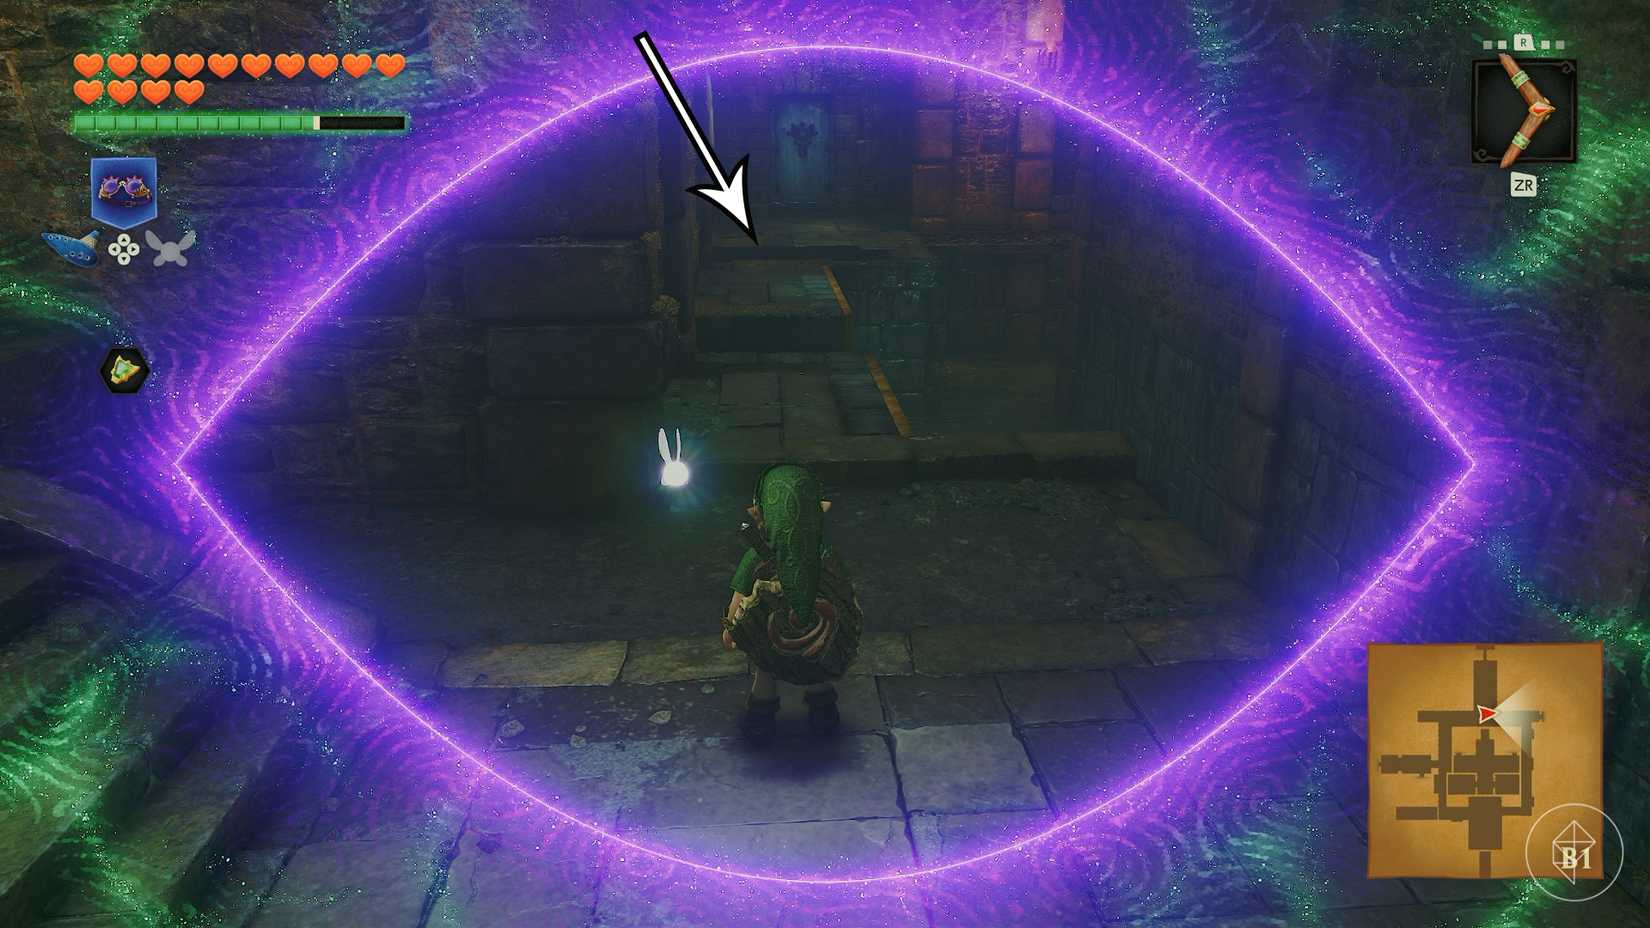
Now that you're back in the main room, you need to find a way to the basement to get the dungeon map, which means you'll have to walk over some fake flooring. Luckily, there's a pit nearby. Put on the Lenses of Truth, and take the path to the left. Just in front of the door, there is a pit that'll take you to the basement. Drop into the hole to get to the basement.
 Graphic: Johnny Yu/Polygon | Source images: Nintendo EPD/Nintendo via Polygon
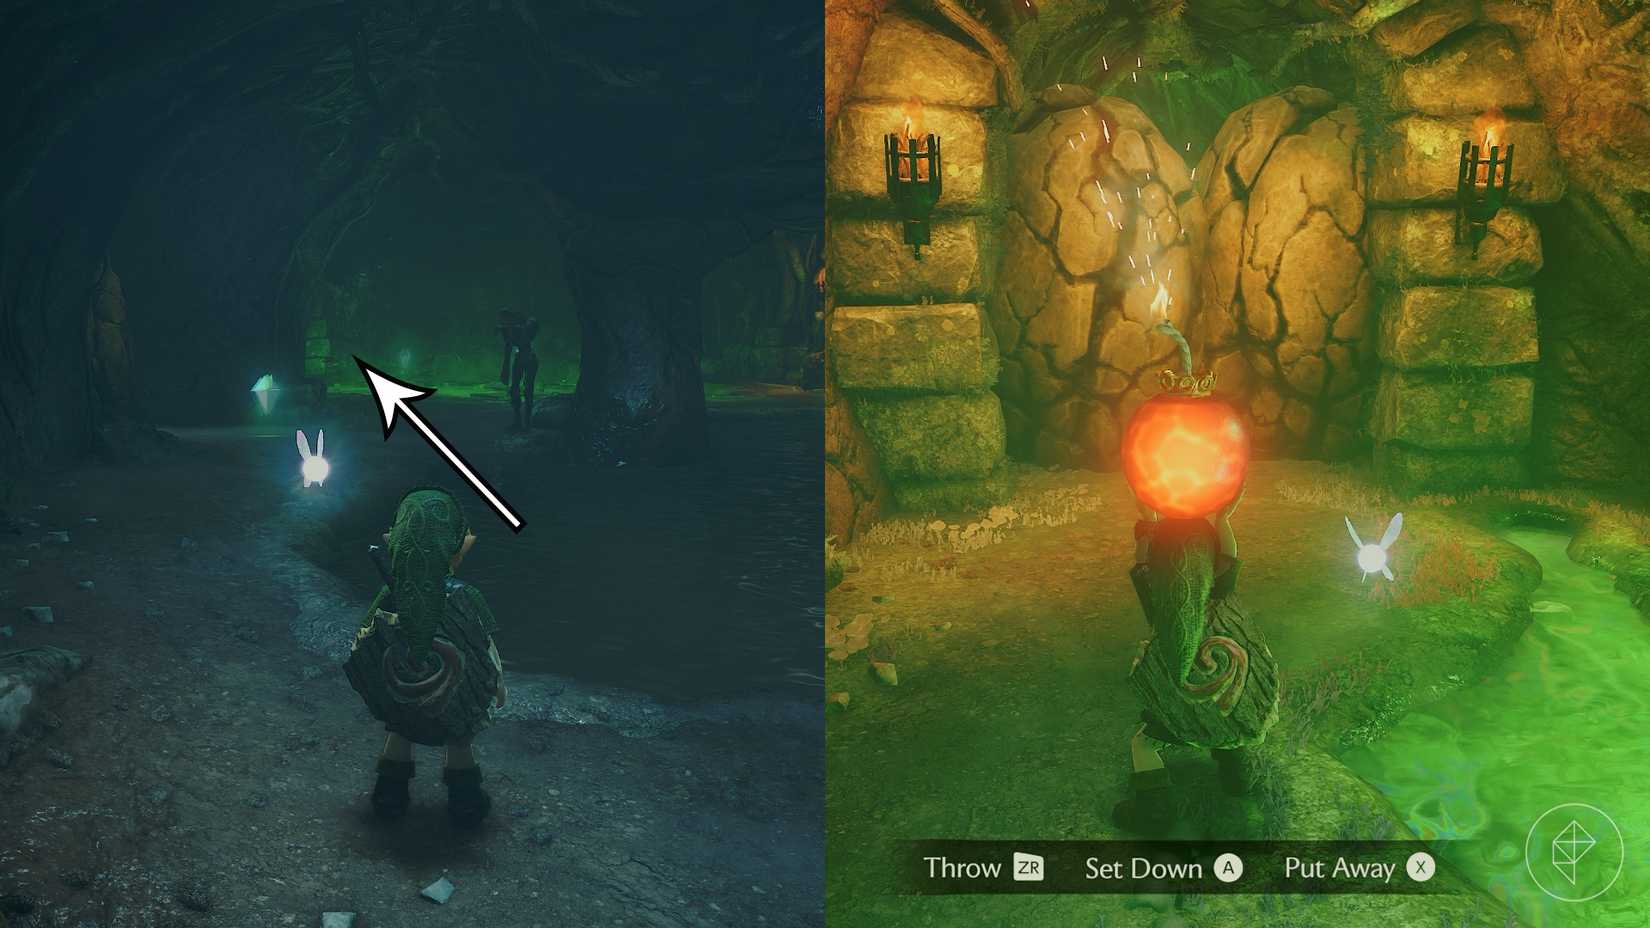
In this basement, there are a bunch of ReDead, which are the zombie-like monsters that will stun you with their gaze. We recommend just running by them, but you can defeat them if you'd like. As you walk into the central room, five crystals, like the crystals from the Ice Cavern, will appear. To get out of the basement, you'll need to collect five of them. For now, pick up the crystal ahead of you and run over to the pool of green liquid. Throw a bomb at the rocks in the corner, and grab the crystals on top of the green liquid while you're here. Once the rocks blow up, grab the crystal and open the chest at the end of the path to get the dungeon map.
Grab the last crystal floating on top of the water, and go through the unlocked door. Climb up the ladder and exit the room.
Part 3: Finding the compass
 Graphic: Johnny Yu/Polygon | Source images: Nintendo EPD/Nintendo via Polygon
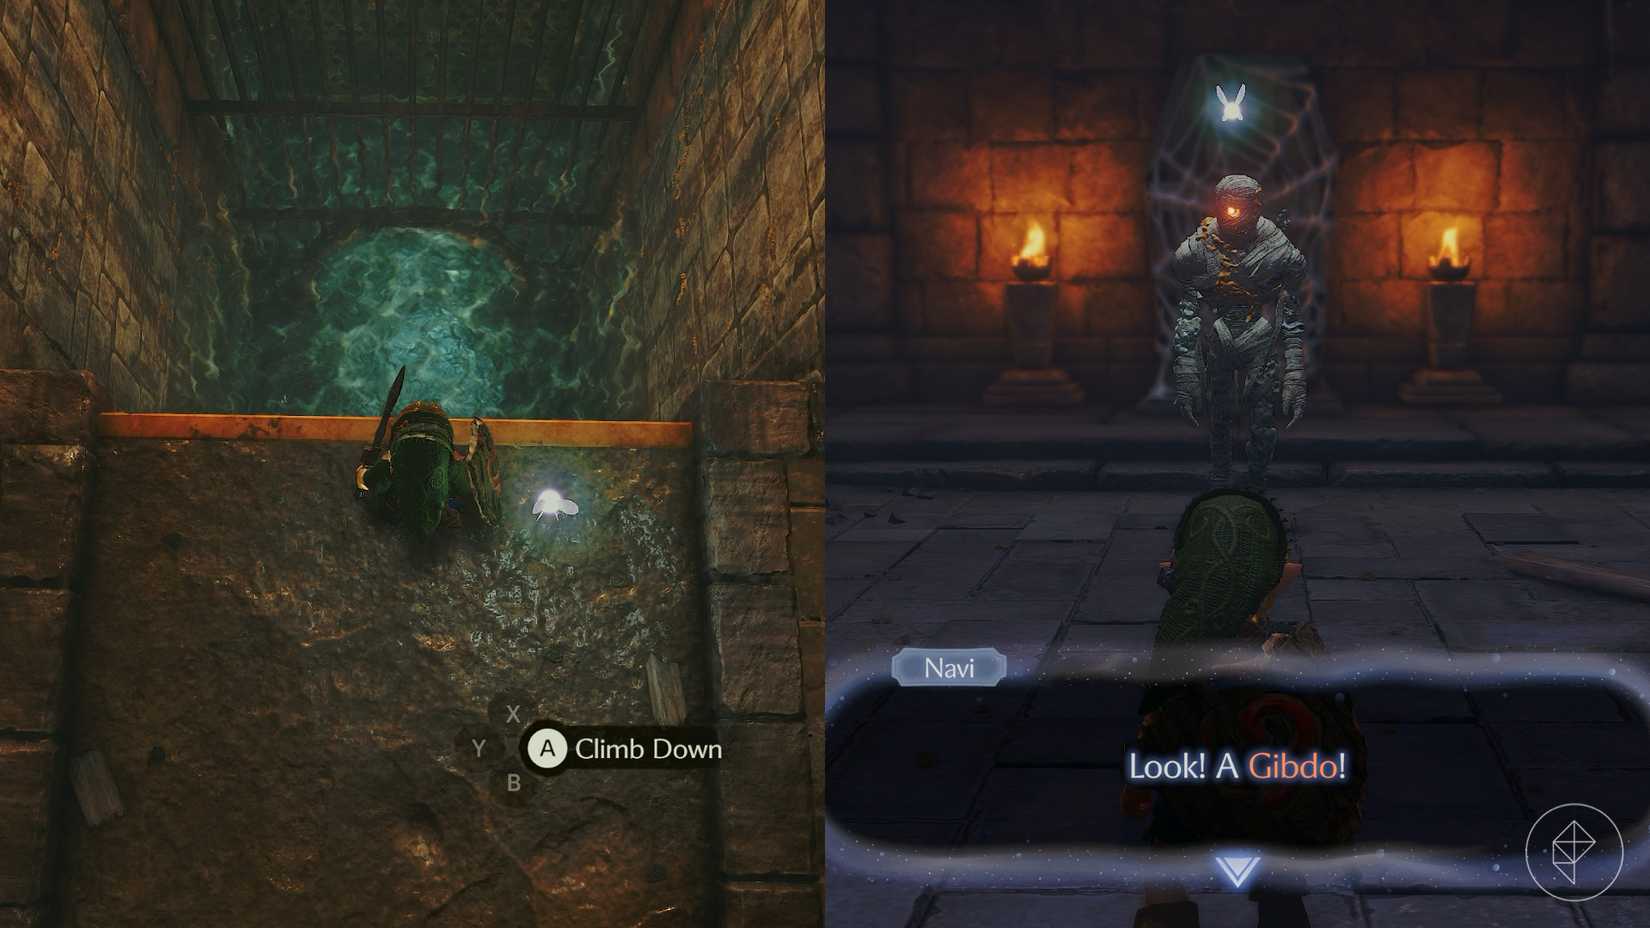
Look to your left to find a pool of water. Drop into it, and dive to the other side. Climb up the wall and go into the door at the top. In this room, you'll find a bunch of coffins and a Gibdo, which looks like a mummy. An easy way to defeat it is to play the Sun's Song (A - R - X - A - R - X) to stun them, and then attack them.
 Graphic: Johnny Yu/Polygon | Source images: Nintendo EPD/Nintendo via Polygon
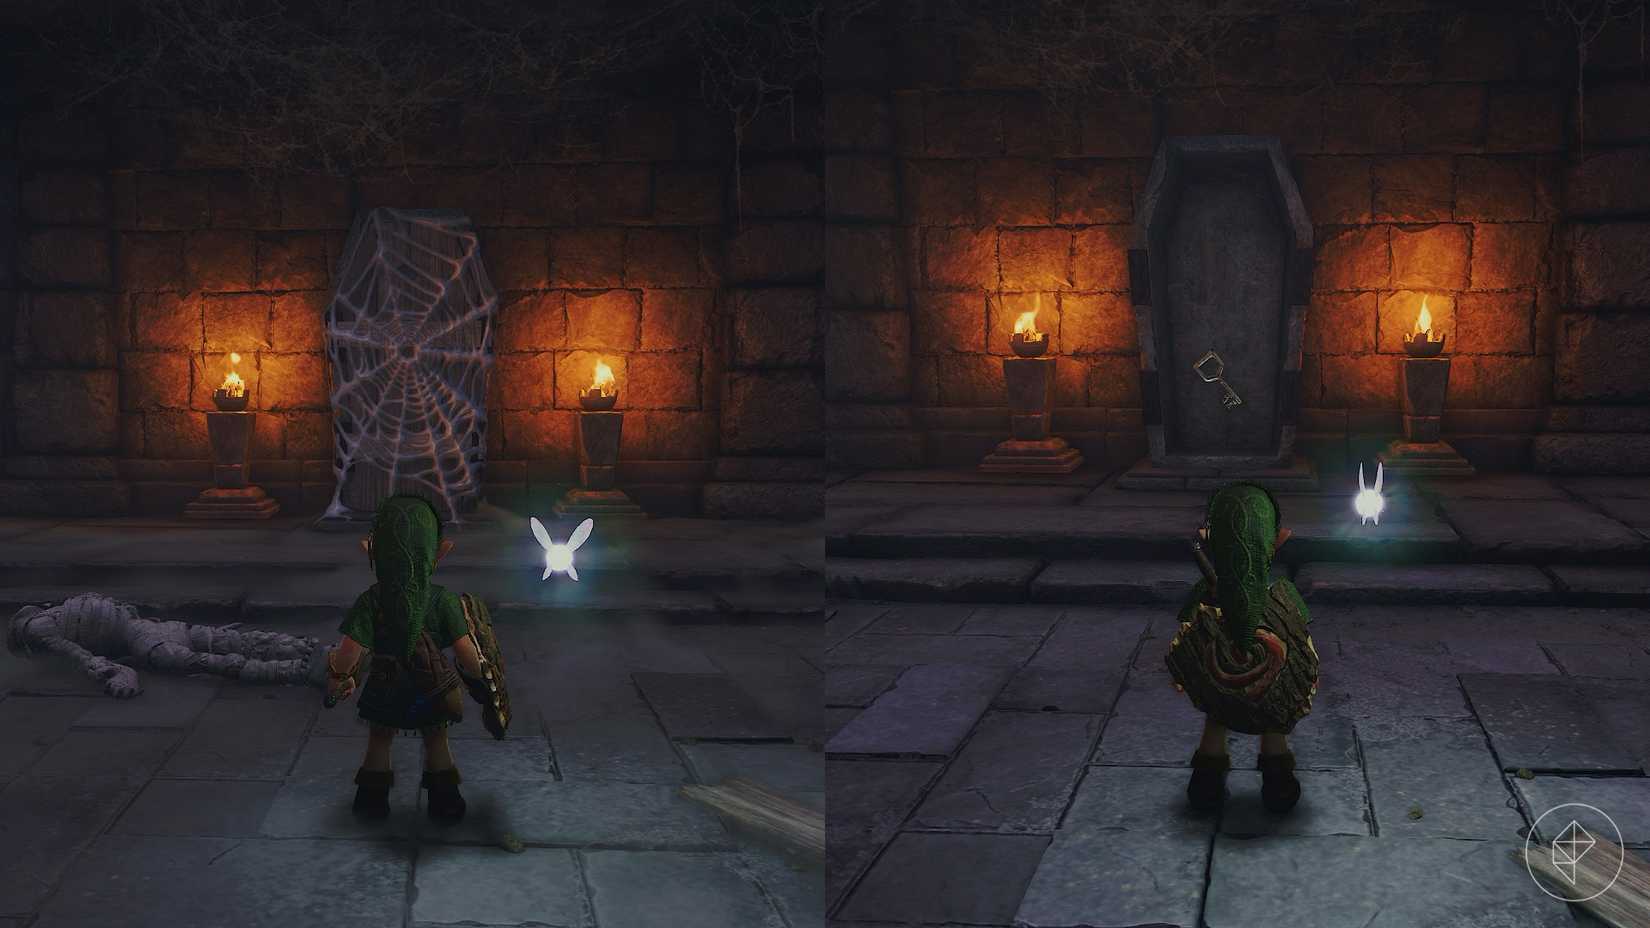
Light a Deku Stick on fire, and hit the western coffin to open it. Inside, you'll find a small key. Collect it and return to the main room.
 Graphic: Johnny Yu/Polygon | Source images: Nintendo EPD/Nintendo via Polygon
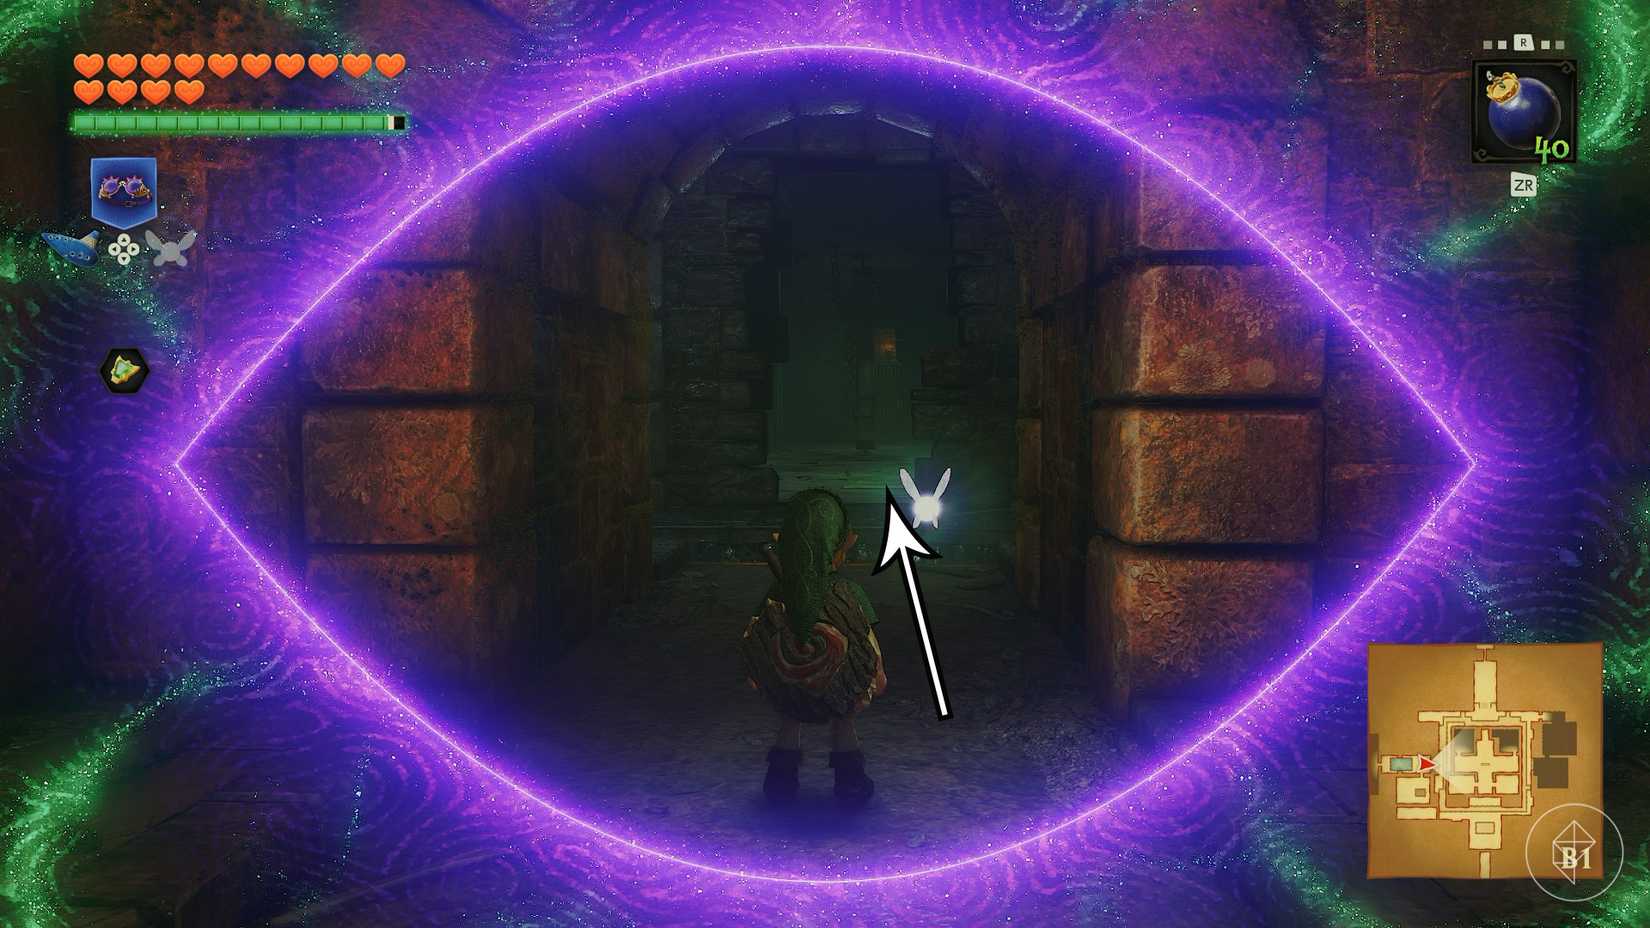
Use your Lenses of Truth and look into the hallway. You'll see that there's a hole in the wall that leads to a room in the center of the area. Jump into it, and a spotlight will onto you from the ceiling. A Wallmaster will shortly drop, so get out of the spotlight and defeat it.
 Graphic: Johnny Yu/Polygon | Source images: Nintendo EPD/Nintendo via Polygon
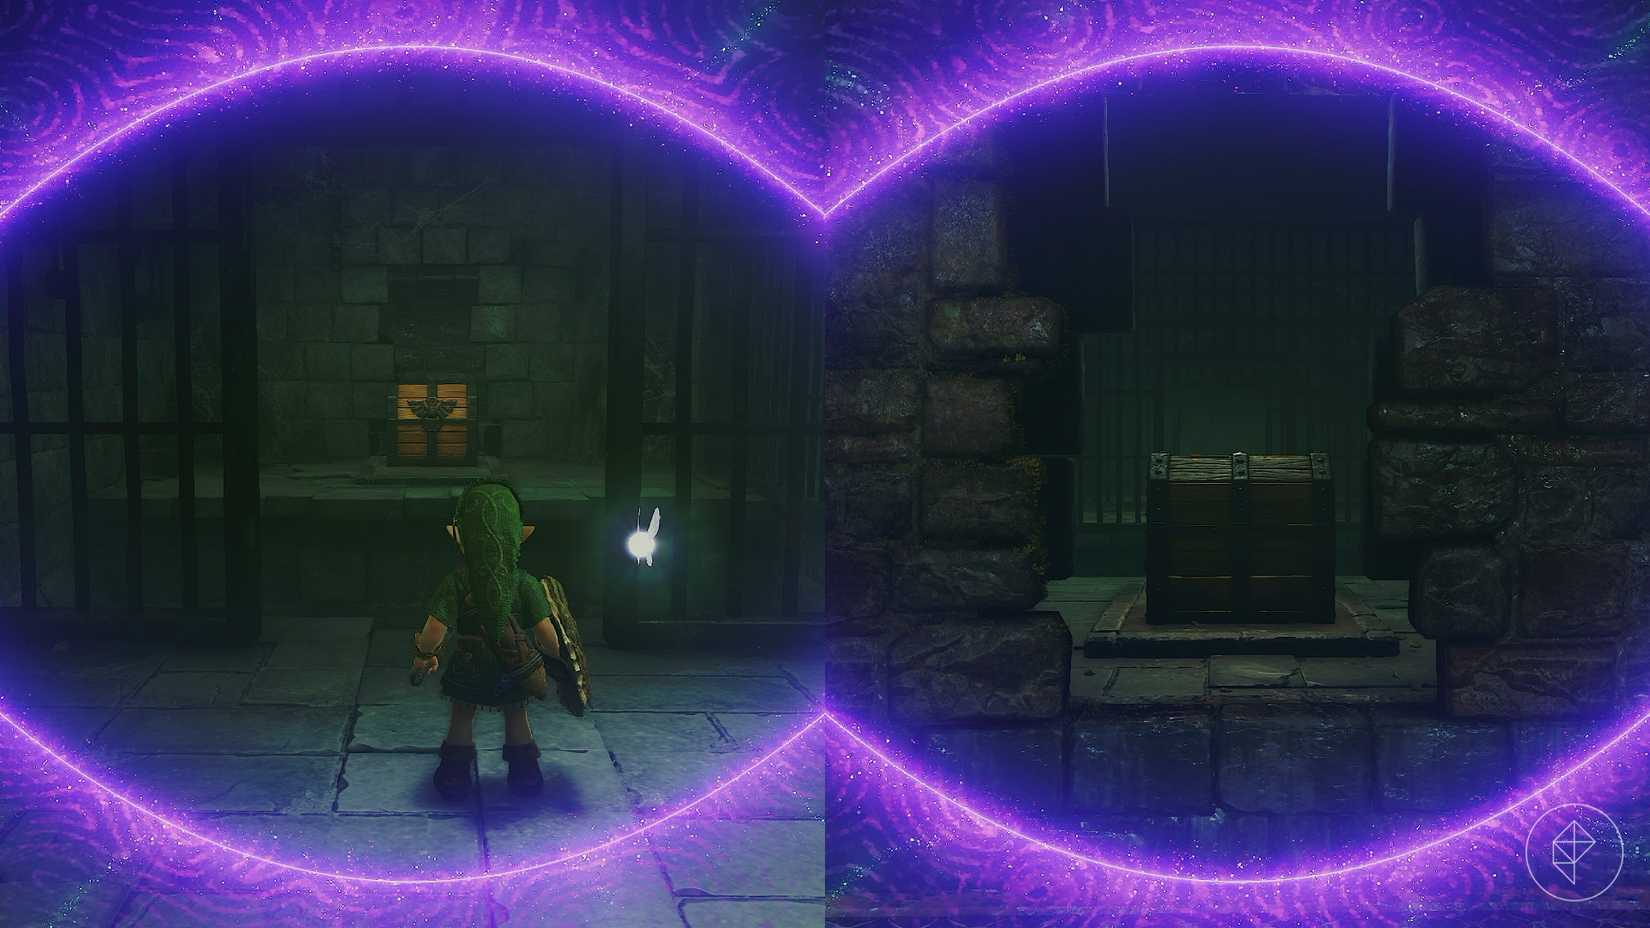
Inside this room, you'll see that there are two barred rooms. One of them has a small chest with a blue rupee, while the other has a large chest. If you use your Lenses of Truth, you'll see that there's actually a huge pit in front of the large chest, but there's an opening in the wall behind it. Exit the room through the west opening, and use the Lenses of Truth to find the opening behind the chest. Jump through the hole, and open the chest to get the compass.
Part 4: Getting the last Gold Skulltulas
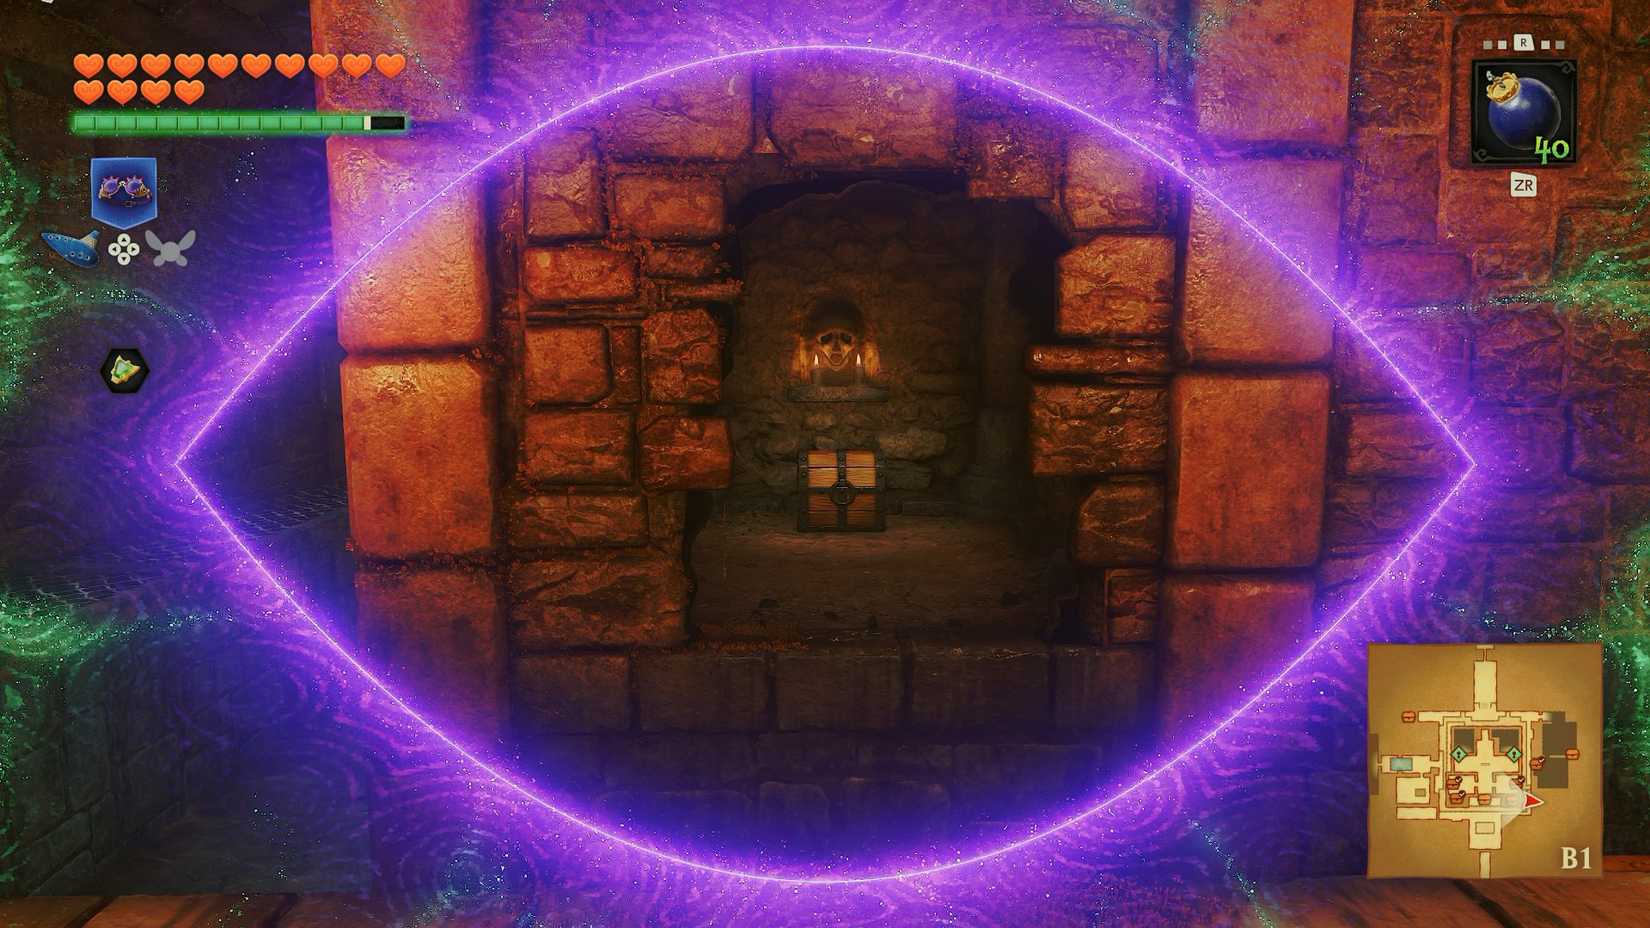 Image: Nintendo EPD/Nintendo via Polygon
Make your way over to the southeastern corner of the area, and look to the central wall with the Lenses of Truth. Jump through the hole in the wall and open the chest to get a small key.
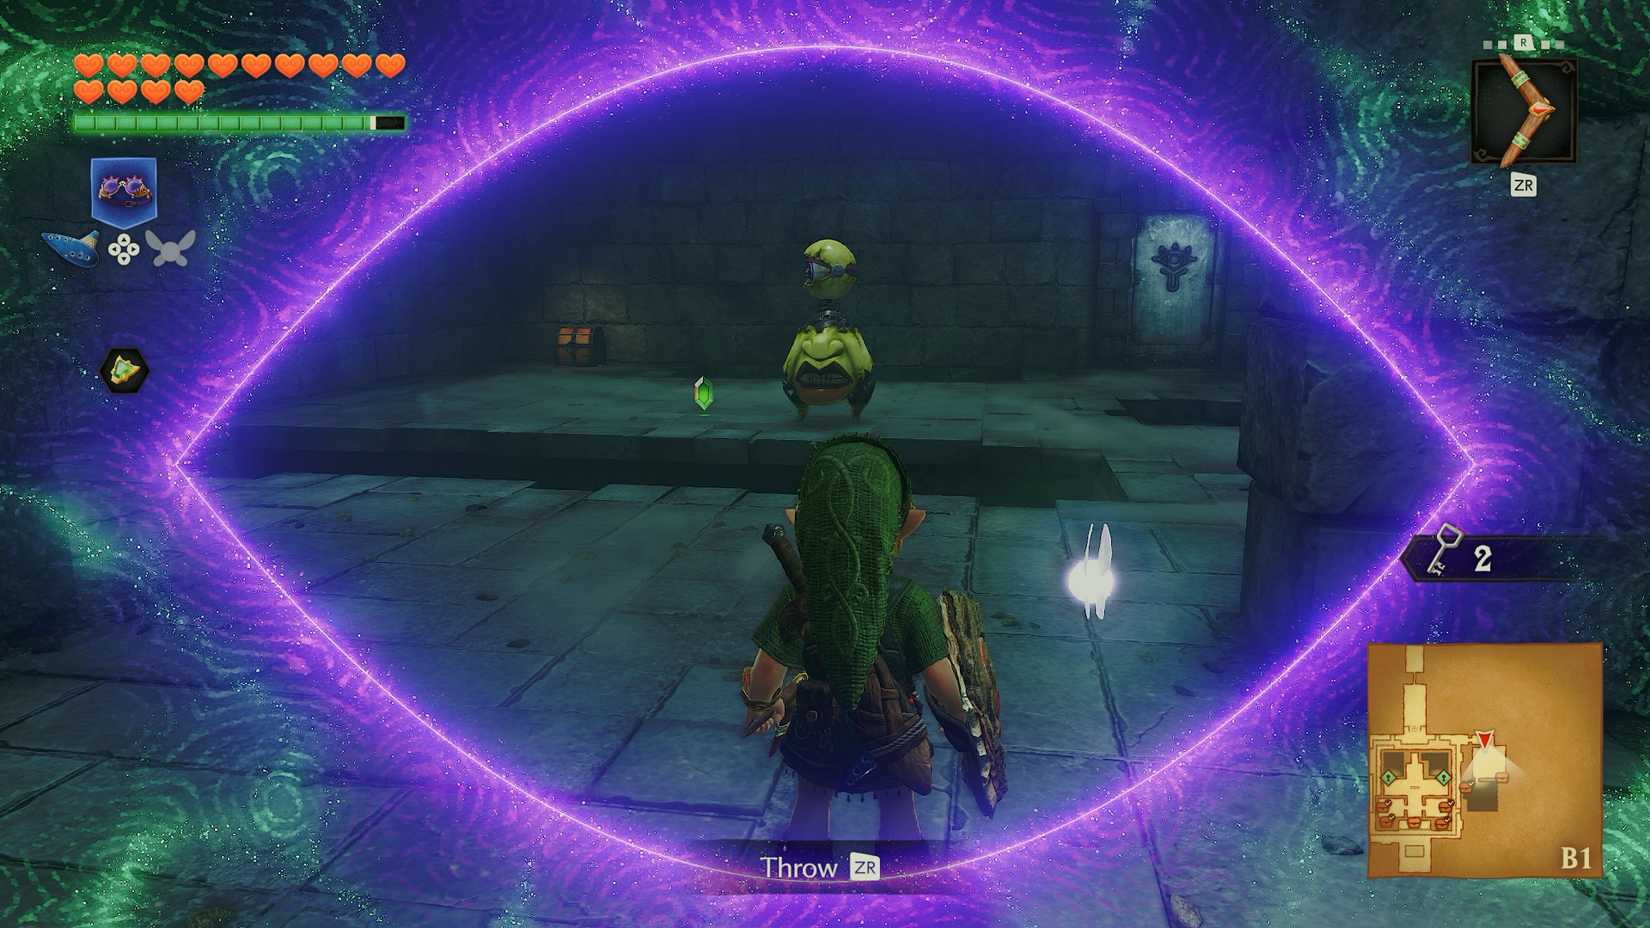 Image: Nintendo EPD/Nintendo via Polygon
Then, head through the door in the northeast corner, but make sure not to fall into the pit that takes you to the basement. In this room, you'll find three Fire Keese and a Beamos. Be careful though, as there's a hole in the ground just in front of the Beamos. Use your Boomerang to take out the Keese, and throw a bomb at the Beamos. If you're running out of bombs, navigate your way to the chest to get five more. Then, go through the door in the corner.
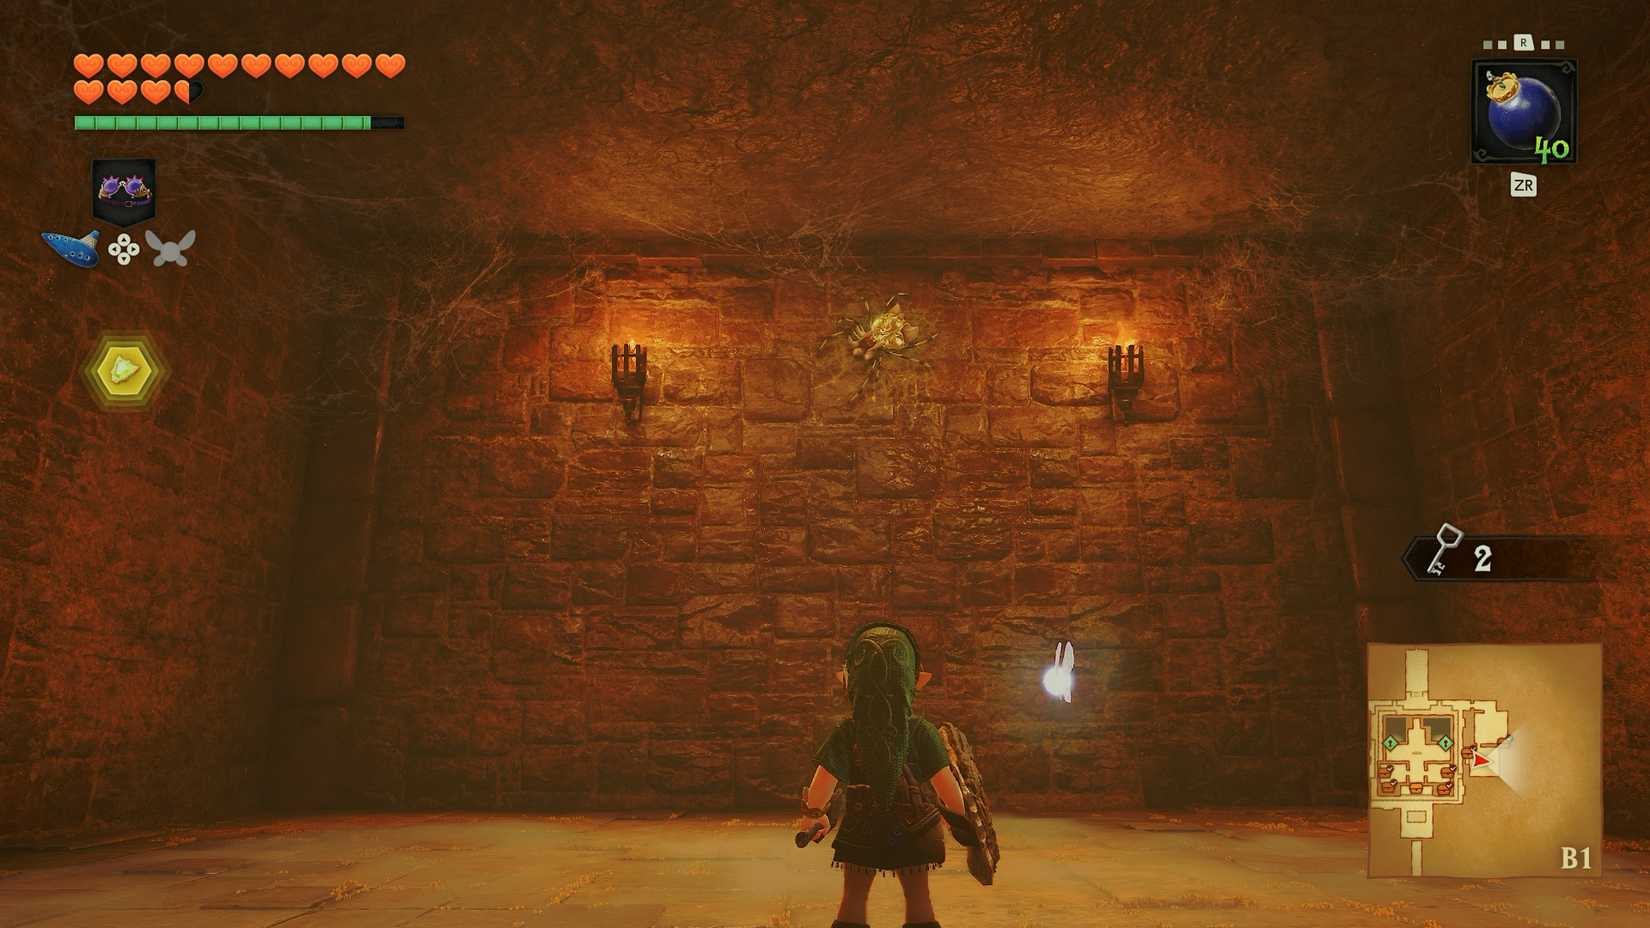 Image: Nintendo EPD/Nintendo via Polygon
You'll quickly find yourself in a locked room with a Like Like. Luckily there are no invisible holes on the floor, so take them out like normal. Then, hit the Gold Skulltula on the eastern wall, and then use your Boomerang to collect its token. Climb up the ladder, and head back to the hidden room in the center of the area.
 Graphic: Johnny Yu/Polygon | Source images: Nintendo EPD/Nintendo via Polygon
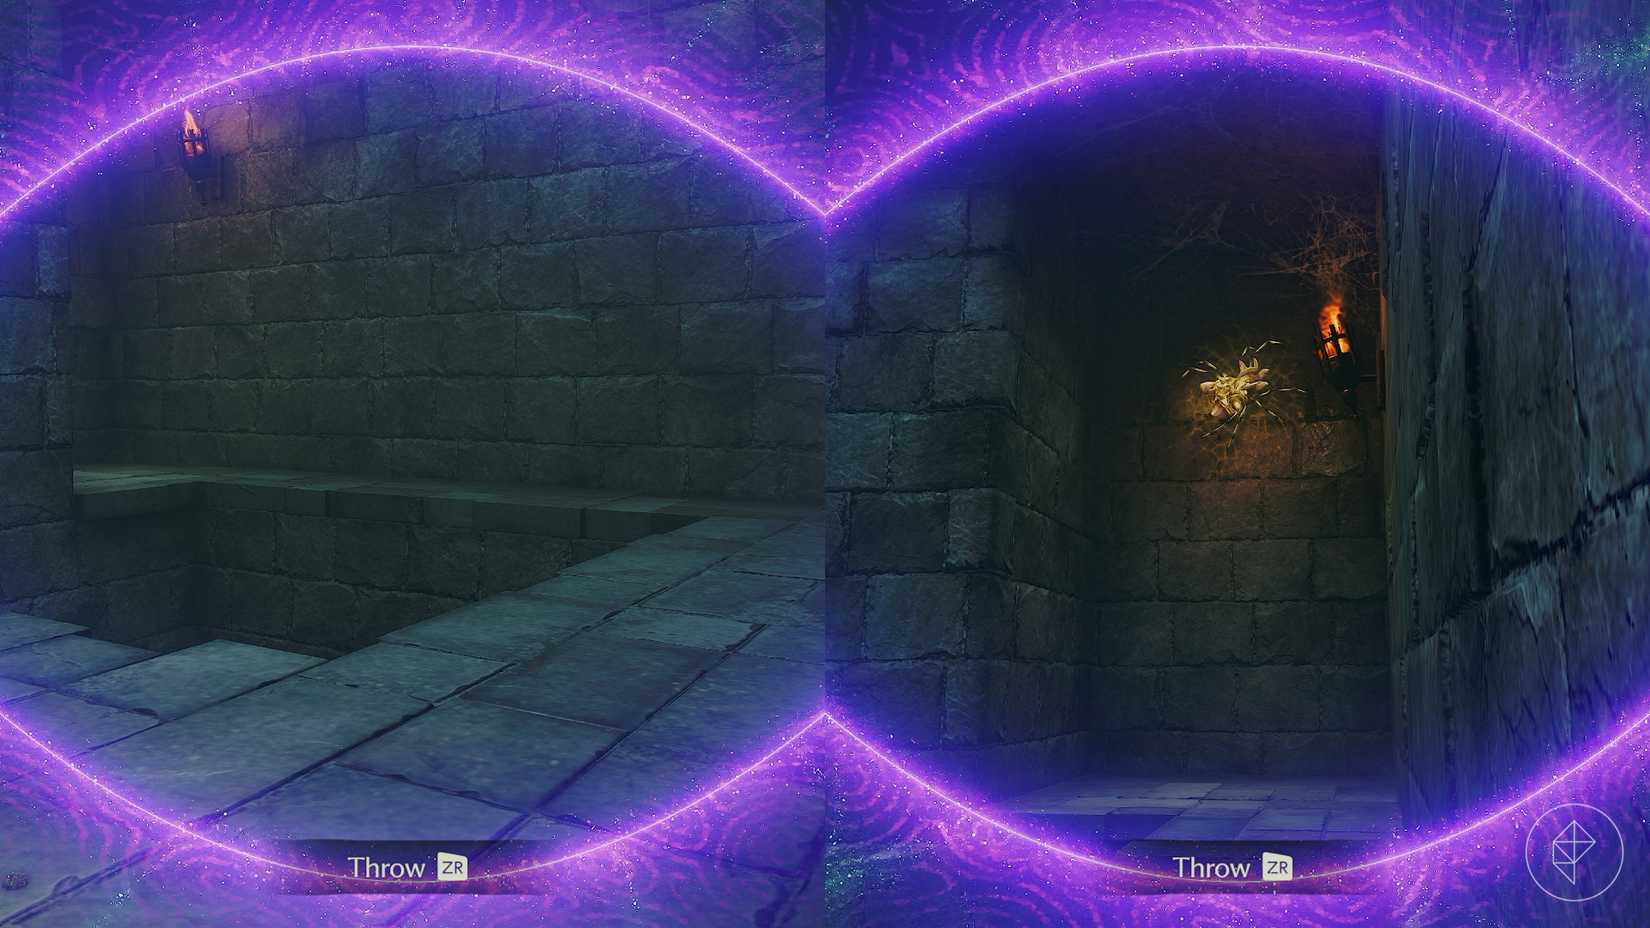
Unlock the east door and head inside. There will be a bunch of Keese just sitting on the walls. Take them out, and then equip the Lenses of Truth to see that there is a secret path along the wall. Follow it to find a Gold Skulltula. Use your Boomerang to collect its token.
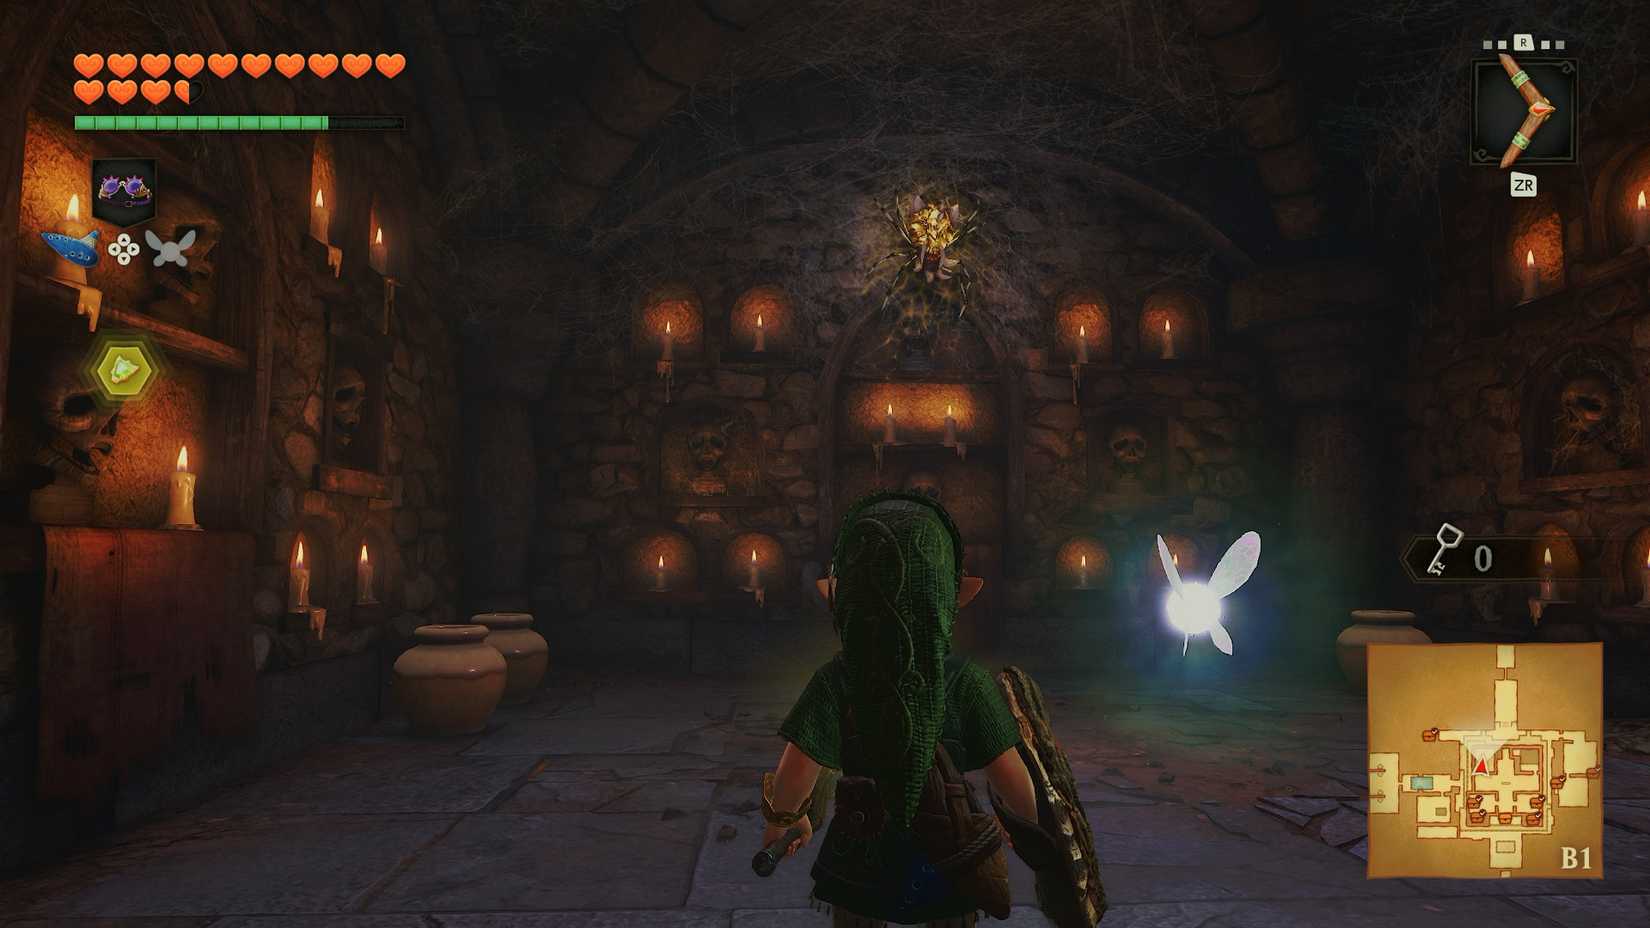 Image: Nintendo EPD/Nintendo via Polygon
Then, unlock the west door and head inside. There will be a Deku Baba, and a Gold Skulltula. Defeat Deku Baba, and collect the Gold Skulltula token.
Aaaand that's everything in the Bottom of the Well. There isn't a final boss, but you can collect the remaining chests for a few extra rupees. On the brightside, now you can go back to Hyrule Castle Town and use the Lenses of Truth to win the chest game!
What's Your Reaction?
 Like
0
 Dislike
0
 Love
0
 Funny
0
 Wow
0
 Sad
0
 Angry
0









Comments (0)