

A Car Photographer's Lightroom Workflow From Culling to Export
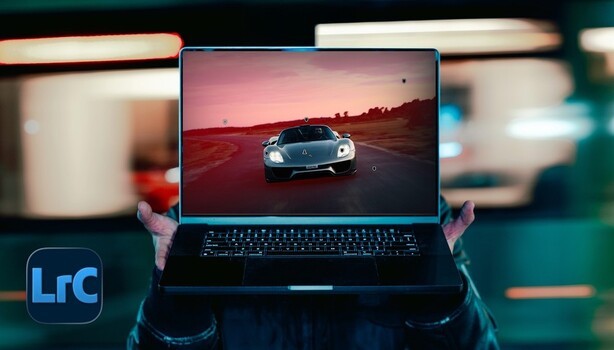
A car shoot can easily produce 1,000 or 2,000 frames, and the time you spend sorting and editing them often decides how many images you actually finish. The order of your Lightroom steps, from culling to tone curve to masking to Denoise, shapes the final look as much as any single slider does.
Mike Amarico of North Borders walks through his full Lightroom process on a silver Porsche 918 Spyder shot at sunset. He starts with a decision many people now hand off to software. Lightroom's Assisted Culling can sort a shoot in minutes, but when he tried it, the feature tossed images he wanted to keep. Digging them back out of the rejects took longer than culling by hand. His alternative starts in the field. On the way to dinner after a shoot, he scrolls through the camera and rates frames while the session is still fresh in his mind, so the files arrive in Lightroom already sorted. From there, a ratings filter narrows a couple thousand shots to 100 or 200. A red label, applied with the 6 key, trims that group to the 10 to 30 he'll actually edit. The whole pass takes him about 20 minutes.
Once the keepers are picked, nearly everything rests on the tone curve. He compares it to the concrete foundation of a house and treats most other adjustments as decoration. On this image, he gets most of the look from the curve and a white balance fix alone. The frame splits roughly evenly between a bright sky and a dark foreground, with the car in the middle. He lifts the shadows, where much of the image data sits, and pulls the upper midtones down to hold the sky. The RGB channels get a specific treatment. He builds one base curve first and copies it to all three channels so they share the same shape, then nudges individual channels from there. Most of his changes happen in red, where a small lift at the top of the curve turns a flat sky pinker.
Each RGB channel curve controls a pair of opposites. Raising the red curve adds red, and lowering it adds cyan. Green trades against magenta, and blue trades against yellow. A slight lift at the top of the red channel warms the highlights, while a drop at the bottom of that same channel pushes the shadows toward teal or green, all from a single curve. Keeping the three channels on a shared base shape protects your overall contrast, so any offset you add shows up as a color shift while brightness stays close to where you set it. The same idea sits under Lightroom's Color Grading panel, which tints shadows, midtones, and highlights with color wheels. Once you know which way each channel pulls, you can look at a curve and see how a grade was built. You can also rebuild a look you like without hunting for a preset that only gets you partway there.
Masking follows the light already in the scene. With the sun setting on the right side of the frame, he lays a broad linear gradient from each side. One brightens, the other darkens, and he subtracts the car from both so it can get its own mask later. Radial gradients, a brush pass to cool some overly yellow lights, and a road-only mask come after that. The silver paint makes this easier, since the car picks up very little of the color shifts happening around it. Denoise lands at the very end of his process, even though Adobe recommends running it first. Not every photo he starts editing makes it to the end. Running Denoise on every file would tax even his fully specced M3 Pro MacBook Pro for photos he may abandon. Applying it last does mean his masks need an update afterward, which Lightroom handles in a couple of seconds before export.
The rest of the masking steps and the export settings he uses for Instagram are laid out in the video above.
What's Your Reaction?
 Like
0
Like
0
 Dislike
0
Dislike
0
 Love
0
Love
0
 Funny
0
Funny
0
 Wow
0
Wow
0
 Sad
0
Sad
0
 Angry
0
Angry
0






Comments (0)