

Layered Compositions Will Level Up Your Landscape Photography
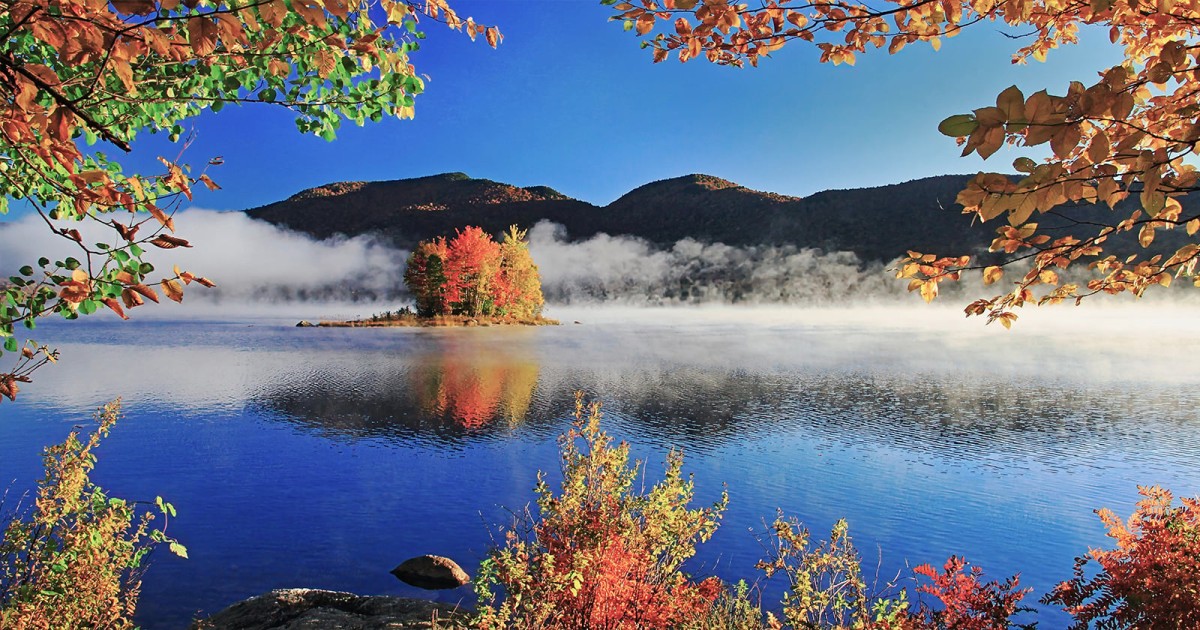
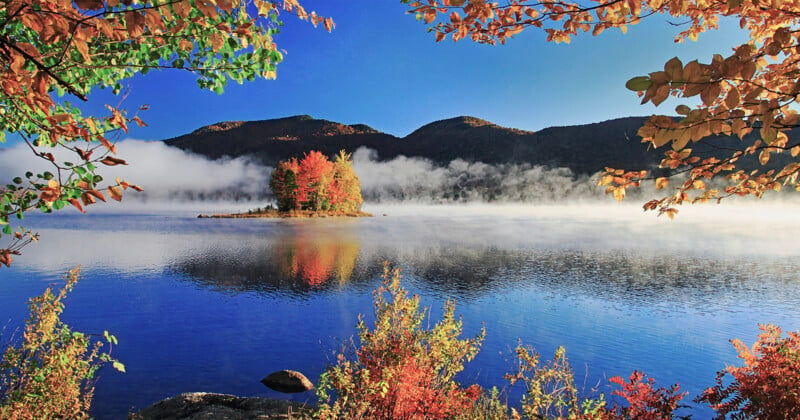
A landscape can look dramatically different in person than it does in a photograph, particularly when a scene loses its sense of depth and scale. Explore how thoughtful layering brings distant views to life by connecting nearby details with the features that make a location memorable.
Creating depth in landscape photography starts with understanding how different parts of a scene relate to one another. Foreground details establish scale, middle-ground features connect the viewer to the wider landscape, and distant elements provide context. When these elements complement one another, they give the photograph greater dimension and draw the viewer through the frame.
Getting those elements to work together takes more than placing an interesting subject in the foreground or pointing the camera at a dramatic mountain range. Camera position, focal length, overlapping shapes, and changing light all influence how layers appear and how easily the viewer can distinguish them. This guide explores how to apply these techniques in the field—from recognizing natural layers and arranging them within the frame to avoiding visual clutter.
Understanding Foreground, Middle Ground, and Background
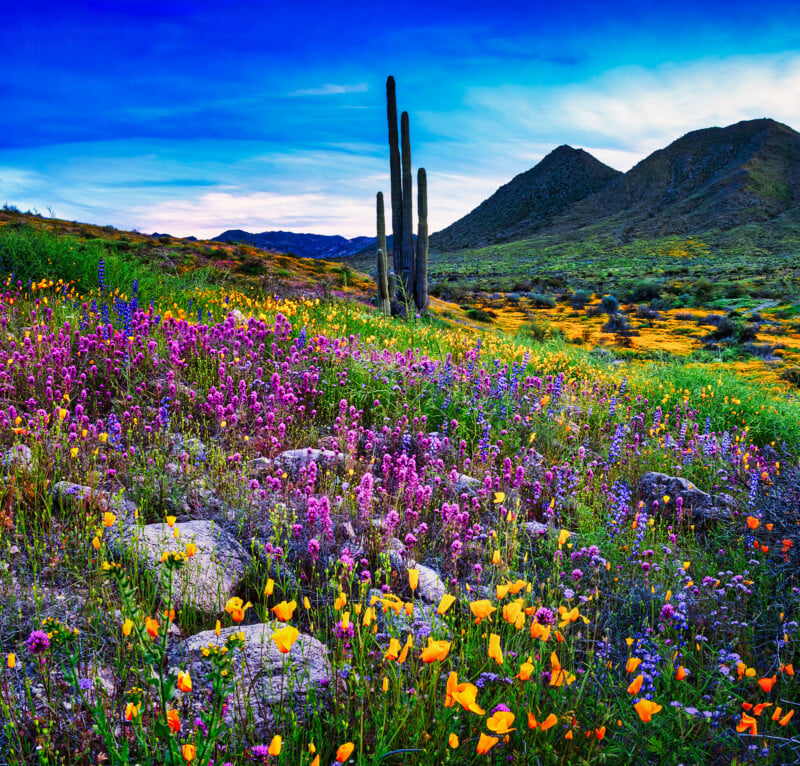
The foundation of a layered landscape composition is the relationship between its foreground, middle ground, and background. These three zones provide a visual structure that communicates distance and gives the viewer a sense of moving through the scene. The foreground is the area closest to the camera, the middle ground occupies the space between the viewer and the distant scenery, and the background typically contains the farthest elements, such as mountains, hills, or the sky.
Each layer serves a distinct purpose. The foreground anchors the immediate setting and gives the viewer an entry point. The middle ground bridges that starting point to the rest of the landscape, while the background provides context, scale, and a sense of distance. When these elements work together, the photograph feels far more dimensional than a composition built around a single distant subject.
Not every landscape needs three clearly defined layers. A photograph of a mountain reflected in a lake, for example, might rely on two dominant planes, while a forest scene could contain several overlapping layers of trees. The goal is not to force every scene into a rigid formula, but to recognize the distinct planes of distance within it and decide how each contributes to the composition.
Before setting up the camera, take a moment to identify what occupies each part of the view. Look for elements that naturally lead the eye through the frame, as well as areas that might compete for attention. Taking this step helps determine whether the scene already has a strong visual structure or whether changing your position could reveal a more effective arrangement.
Finding a Foreground That Adds Depth
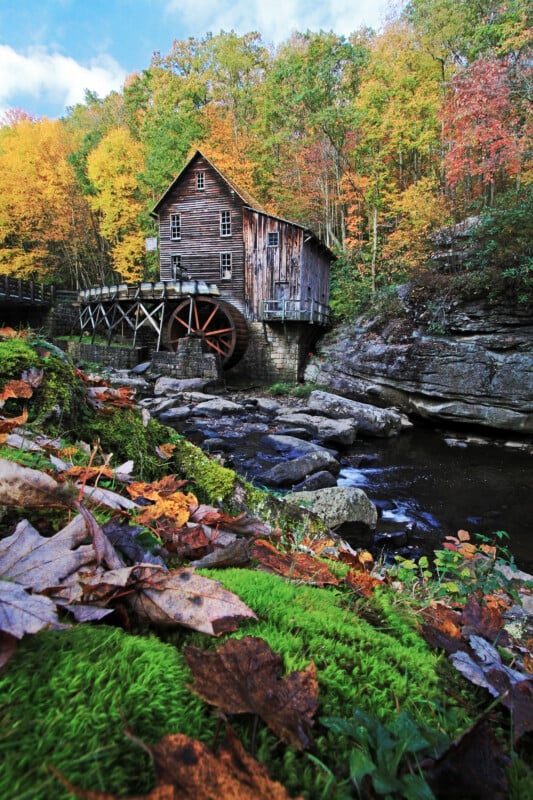
A strong foreground gives a landscape photograph an immediate point of entry. Rocks, grasses, wildflowers, fallen trees, shoreline details, and other nearby features establish a sense of place while making the distance feel more pronounced. Rather than simply filling the bottom of the frame, the foreground should serve a clear purpose in the composition.
Look for foreground elements that relate to the larger scene. A line of rocks leading toward a mountain, a patch of wildflowers beneath a distant ridgeline, or a weathered tree framing a valley can connect the viewer to the landscape beyond. These details establish scale and make an expansive scene feel more tangible.
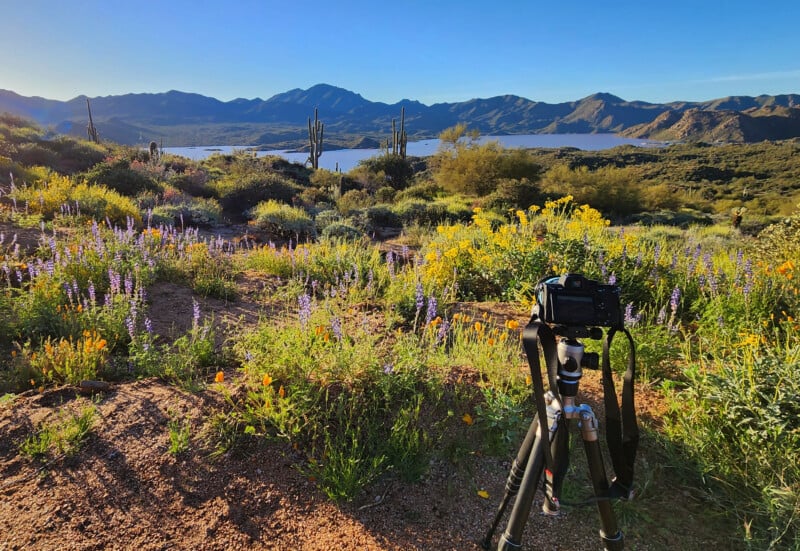
Camera position has a considerable effect on how prominent the foreground becomes. Lowering the camera gives nearby objects greater visual weight, often exaggerating their apparent size relative to the background. This can create a dramatic sense of depth, particularly when using a wide-angle lens. However, getting too close can make a foreground object overwhelm the rest of the photograph. Move the camera forward and backward while checking how much space the foreground occupies and whether it remains connected to the distant view.
Pay attention to the edges of the frame as well. A partially cropped rock, branch, or other object along the border can look accidental if it draws attention without adding to the composition. Sometimes shifting the camera just a few inches is enough to position the foreground more deliberately. If there is no suitable foreground element, resist the urge to include something merely to fill the space. A clean, uncomplicated foreground is often more effective than one that distracts from the landscape.
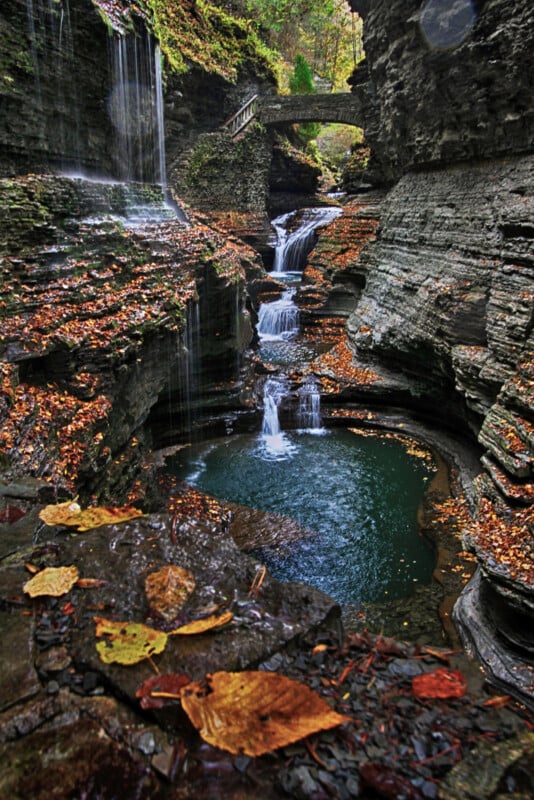
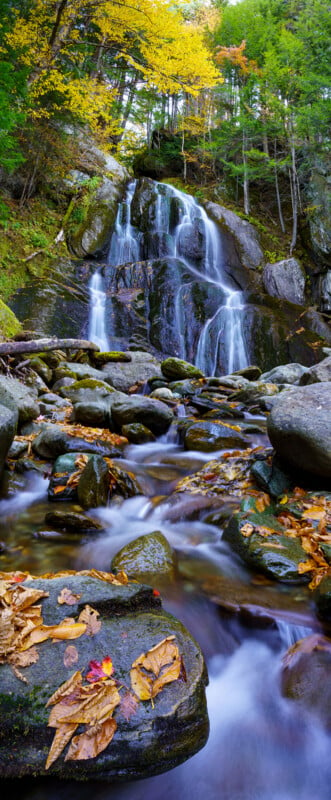 I have photographed this waterfall many times, but this particular year the exposed rocks were covered in fallen autumn leaves. Creating a vertical panorama allowed me to highlight both the scattered leaves and the visual flow of the rocks and water through the frame.
Using the Middle Ground to Connect the Scene
The middle ground is often the most overlooked part of a landscape composition. Photographers frequently concentrate on finding an interesting foreground and capturing a dramatic background, leaving the space between them without a clear visual role. Yet this middle zone is essential because it bridges near and distant elements, helping the photograph feel cohesive.
Middle-ground subjects can include rolling hills, tree lines, rivers, fields, valleys, waterfalls, or clusters of rocks. These features smooth the transition between planes of distance and can create a natural path through the image. A river winding between a foreground shoreline and distant mountains, for example, gives the viewer a route through the landscape. A series of hills can create successive bands that gradually recede toward the horizon.
Look for shapes and lines that link different parts of the scene. A sloping hillside might echo the angle of a nearby rock formation, while a line of trees could guide attention toward a distant peak. Repeating forms also help unify a composition; a series of ridges or tree-covered slopes creates a visual rhythm that reinforces depth.
If the middle ground feels empty, consider whether changing your position reveals more of the landscape between the foreground and background. Moving laterally along a trail or shoreline can shift the relationship between overlapping features and expose details that were previously hidden. You may also find that a slightly longer focal length brings distant layers together more effectively, especially in landscapes with repeating hills or ridgelines.
Creating Separation Between Background Elements
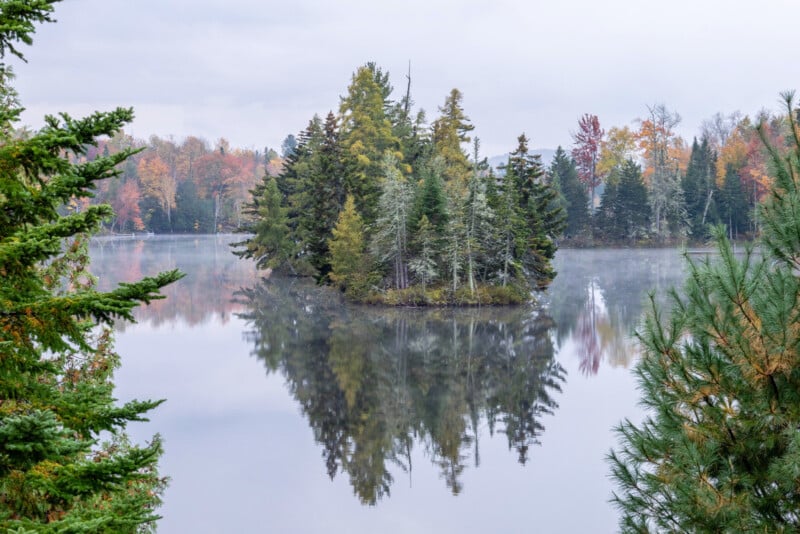
The background gives a landscape its broader context, but distant elements can easily lose definition when they blend together. A mountain peak that merges with a similarly toned ridge, for example, may lose its shape and visual impact. Creating separation between background features preserves their individual forms and reinforces the sense of distance.
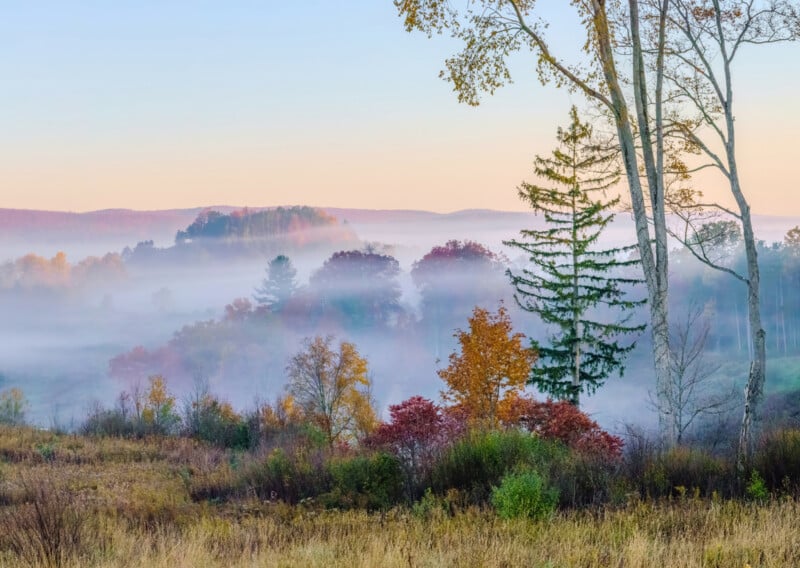
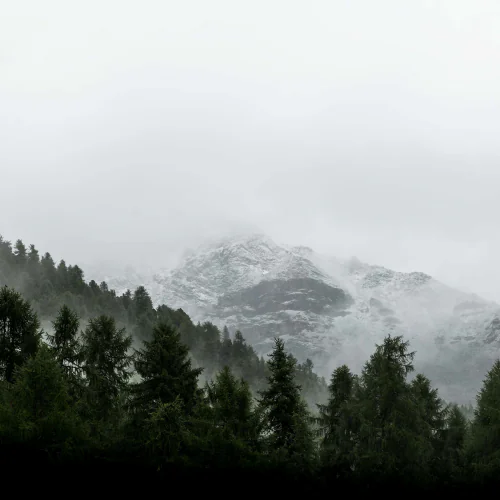
Light and weather often provide natural separation. Sidelighting reveals the contours of distant mountains, while low-angle sunlight casts alternating bands of brightness and shadow across hillsides. Fog, mist, and atmospheric haze also distinguish successive layers by reducing contrast as the landscape recedes. These conditions produce subtle tonal transitions that make distant features appear farther away.
Camera position matters, too. A slight change in elevation or angle can separate a mountain from the ridge behind it or reveal a gap between two overlapping peaks. Before taking the photograph, examine the outlines of distant features and look for places where they merge. Moving even a short distance can create enough separation to make the shapes easier to read.
Exposure also affects how well those details are retained. Bright skies behind dark mountains often create a wide dynamic range, particularly at sunrise and sunset. Check the histogram and highlight warnings to avoid losing important sky detail. If necessary, use exposure bracketing or a graduated neutral density filter to manage the difference in brightness. Preserving tonal detail across the scene helps maintain the distinction between distant layers.
Using Overlap to Establish Distance
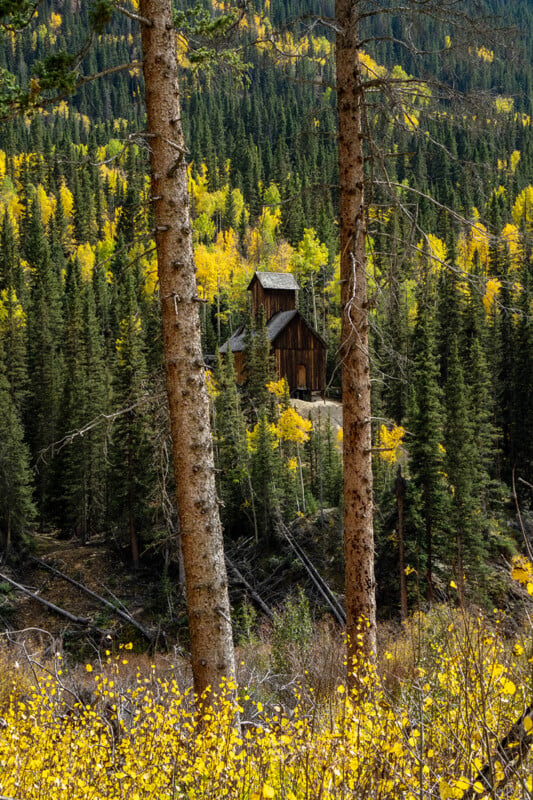
Overlap is one of the most direct ways to communicate depth in a landscape photograph. When one object partially obscures another, the viewer immediately recognizes that the two elements occupy different planes of distance. A foreground tree overlapping a distant ridge, for example, creates a clear spatial relationship even though the photograph is a two-dimensional image.
Look for natural arrangements where landscape features overlap cleanly. Successive mountain ridges, layers of trees, and rolling hills are particularly useful because they provide repeated shapes at different distances. The viewer can follow these forms as they recede into the background, creating a sense of depth without requiring a prominent foreground subject.
How much elements overlap also matters. If one element completely hides another, the relationship between them becomes less obvious. If the objects barely touch, their outlines can merge into an awkward visual intersection. Small changes in camera position can reveal more of one feature or create a cleaner separation between them.
This is especially important when photographing forests or densely layered landscapes. Branches and tree trunks can easily intersect in ways that make the image feel tangled. Rather than trying to include every interesting tree, look for openings where individual trunks and branches remain distinguishable. A slight shift to the left or right may separate one tree from another and make the overall arrangement easier to read.
Choosing a Focal Length for Layered Landscapes
Focal length directly influences how distance and scale appear in the finished photograph. Wide-angle lenses are useful when the foreground is an important part of the composition. Their broad field of view captures nearby details alongside distant scenery, while perspective exaggeration between close and far objects emphasizes depth.
When using a wide-angle lens, foreground placement becomes particularly important. An object close to the camera can appear much larger than everything behind it, sometimes dominating the frame. This can be effective when the foreground has a strong shape or texture, but it can also make the composition feel unbalanced. Pay attention to how close you are to the nearest subject and whether its scale supports the relationship between layers.
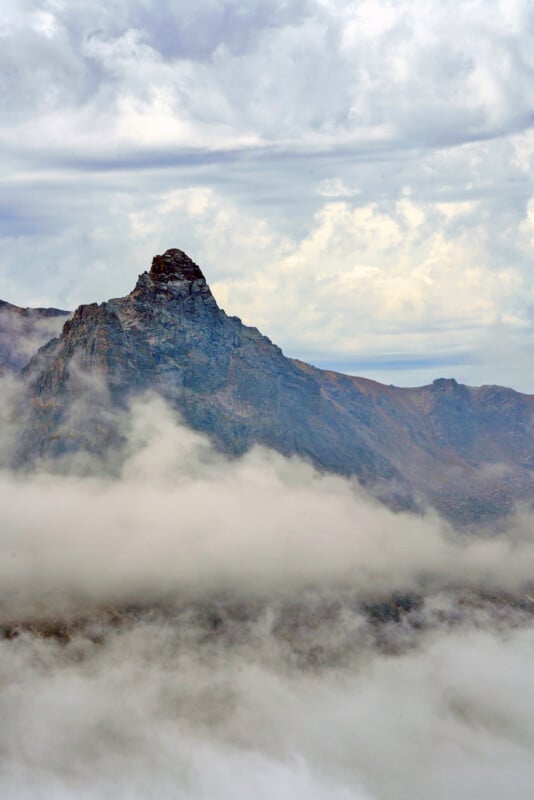
Telephoto lenses offer a different approach. Rather than emphasizing the distance between foreground and background, longer focal lengths narrow the field of view and make distant features appear closer together. This visual compression can emphasize repeated layers of mountains, hills, trees, or other landscape elements. A scene that looks relatively open through a wide-angle lens may reveal a more graphic arrangement when photographed with a telephoto lens.
Neither approach is inherently better. A wide-angle lens communicates the scale of an expansive landscape, while a telephoto lens isolates a series of distant forms and emphasizes their relationship. If a scene has several interesting layers, try photographing it at different focal lengths before deciding which version best captures the scene.
Working With Light, Atmosphere, and Weather
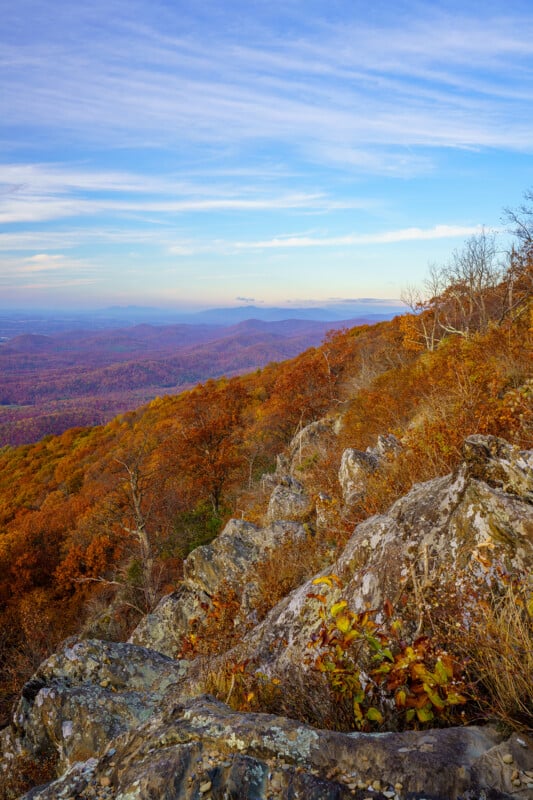
Light makes layered landscapes more distinctive by revealing shapes, textures, and tonal differences across planes of distance. The same scene may look relatively flat under even midday light but become far more dimensional when low-angle sunlight creates alternating bands of illumination and shadow.
Sidelighting is particularly useful for emphasizing the contours of hills, mountains, and other landforms. As the sun sits low on the horizon, ridges catch the light while valleys remain in shadow. This creates visual separation between successive layers and gives the scene a stronger sense of form. Backlighting can also be effective, especially when photographing trees, grasses, or other translucent elements in the foreground.
Atmospheric conditions provide another way to distinguish distance. Mist and fog soften the contrast of distant hills and mountains, creating a series of progressively lighter layers. After a storm, breaks in clearing clouds often spotlight individual sections of a landscape while leaving others in shadow. These changing conditions produce natural divisions between foreground, middle ground, and background without requiring strong compositional elements in every part of the frame.
When photographing in changing weather, be prepared to work quickly. Use a tripod when shutter speeds are slow, but avoid relying on one fixed composition if the light is moving across the scene. Take multiple exposures as conditions evolve, particularly when sunlight briefly strikes a distant ridge or a break in the clouds reveals a new layer. These short-lived lighting conditions can make a substantial difference to the finished image.
Keeping Layered Compositions From Becoming Cluttered
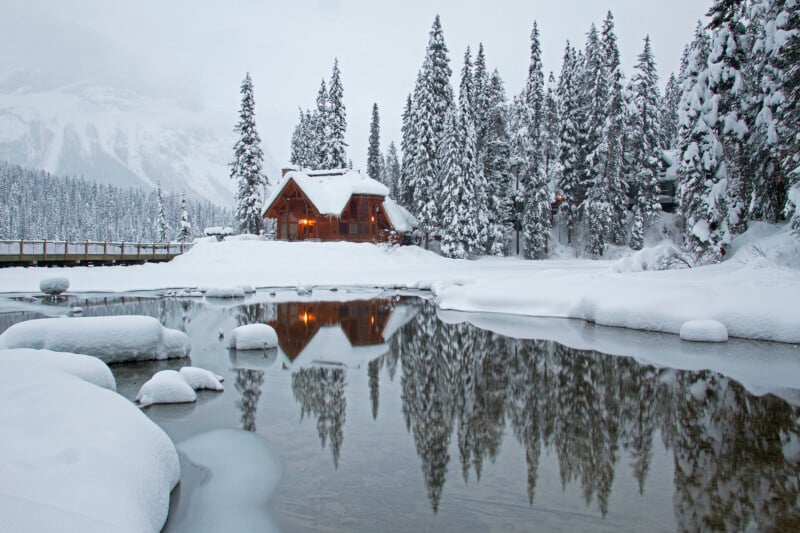
Adding layers can create depth, but it can also introduce too much visual information. A foreground full of rocks, a middle ground crowded with trees, and a background filled with overlapping mountain peaks may leave the viewer unsure where to look. The challenge is deciding which elements contribute to the photograph and which ones make it harder to read.
Start by identifying the primary subject or visual feature. This does not have to be a single object — it might be a mountain range, a winding river, or a series of repeating ridgelines. Once you know what should attract attention, consider whether the other layers support it. A foreground element that pulls the eye away from the main subject may need to be repositioned or excluded from the frame.
Simplifying a composition does not always mean removing entire layers—it often means adjusting how much visual weight each one carries. A smaller foreground can establish context without competing with the background, while an open middle ground gives the viewer’s eye room to travel through the scene. Switching to a longer focal length can also help trim distracting edges or unrelated elements.
Watch for bright highlights, stray branches, and high-contrast objects that pull attention away from the subject. These distractions become more disruptive in a layered composition, where the viewer’s eye is already navigating multiple planes. Scan the entire frame before pressing the shutter—paying close attention to the corners and edges—for anything that interrupts the visual flow. Often, shifting the camera slightly or tightening the crop is enough to clean up the frame.
Using Camera Position and Perspective to Strengthen Layers
Even a minor shift in camera position can alter the relationship between every layer in a landscape. Moving forward or backward changes the scale and placement of foreground objects, while stepping laterally can reveal or conceal distant features. Camera height also dictates how much of the ground plane is visible and how smoothly the foreground transitions into the background.
Rather than immediately setting up a tripod at the first scenic overlook, take time to explore the area. Walk along a ridge, follow a shoreline, or look for a slightly elevated vantage point that opens up the landscape. Observe how foreground elements align with distant peaks, trees, or ridges. Often, the strongest composition sits just a few steps away from the obvious viewpoint.
Once you find a promising spot, a tripod helps you fine-tune height and framing deliberately. Lowering the tripod emphasizes nearby textures, while raising it reveals more of the middle ground. If your tripod has an adjustable center column, extend it sparingly as raising the column too high reduces stability, especially in windy conditions.
Perspective control is also worth considering in scenes with strong vertical lines. Tilting the camera upward causes trees, cliffs, or buildings to converge toward the top of the frame. While that converging effect can work creatively, keeping vertical lines straight requires leveling the camera and adjusting your composition by stepping back or switching to a wider lens. What matters most is whether the perspective reinforces how you want the layers to relate.
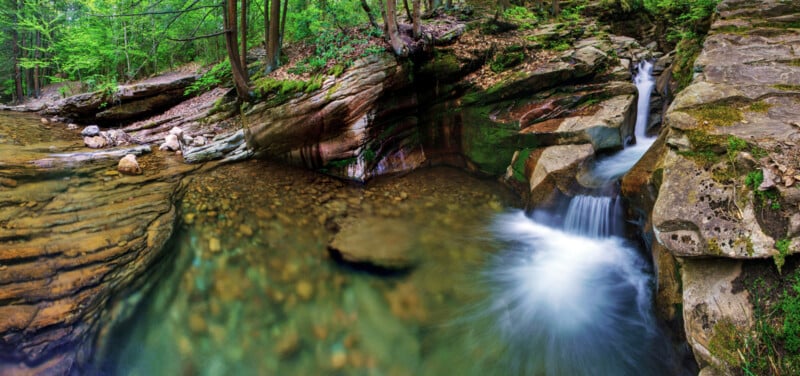 The water in this small pool at the base of the waterfall was so clear—and the trails of falling water spread across the surface like a star—that I wanted to make it the focus of the photograph. I experimented with different shutter speeds and compositions until I found the right balance between capturing the motion of the falls and preserving detail in the pool. Don’t be afraid to experiment and try different settings as you explore.
Putting the Layers Together in the Field
Building a layered landscape composition becomes much easier when you approach a scene methodically. Start by identifying the anchor of the view—whether that is a distant peak, a line of trees, a winding river, or light sweeping across a valley. From there, work backward toward the camera to see which nearby elements can serve as an entry point without overpowering the main subject.
Once you have identified potential layers, move around to test different arrangements. Look for foreground features that lead naturally into the middle ground, and check how distant shapes overlap. Watch the gaps between objects so unrelated elements do not merge into awkward outlines. If the scene feels overly busy, simplify with a tighter framing or a longer focal length rather than trying to include everything.

Your camera settings should support both the field conditions and the intended depth of the photograph. For a static landscape requiring front-to-back sharpness, a mid-range aperture such as f/8 or f/11 is a reliable starting point. Focus roughly one-third of the way into the scene, then zoom in on your review screen to verify that both the nearest and farthest key elements are sharp. Optimal focus distance depends on focal length, aperture, and proximity to the foreground; if a very close foreground and distant background cannot both be rendered sharply in a single frame, focus stacking is a reliable alternative when the scene is still.
Keep your ISO low when practical, but do not let the pursuit of a noise-free file force an overly slow shutter speed. Wind moving through grasses or foliage often calls for a faster exposure, even if that requires raising your ISO. A tripod eliminates camera shake, but it cannot freeze motion within the landscape itself.

Before leaving a location, photograph the scene using several different focal lengths and compositions. Start with a wider frame that emphasizes the foreground, then try a tighter composition that compresses repeating layers or gives greater weight to the background. I also like revisiting locations under different light and weather, as shifts in atmosphere or time of day can completely transform a scene’s character and yield a more dramatic photograph. Comparing these variations helps reveal which arrangement and conditions best capture the landscape.
Ultimately, layered landscape photography is about building intentional relationships between elements in a scene. Foreground, middle ground, and background offer a reliable structural framework, but their impact depends on how well they connect, overlap, and remain visually distinct. By paying close attention to camera position, focal length, light, and visual balance, you can create landscapes with genuine depth and clarity.
Image creditsPhotographs by Kate Garibaldi
Affiliate Disclosure PetaPixel articles may include affiliate links; we may earn a commission if you buy through one.
What's Your Reaction?
 Like
0
 Dislike
0
 Love
0
 Funny
0
 Wow
0
 Sad
0
 Angry
0










Comments (0)